Setup Guide
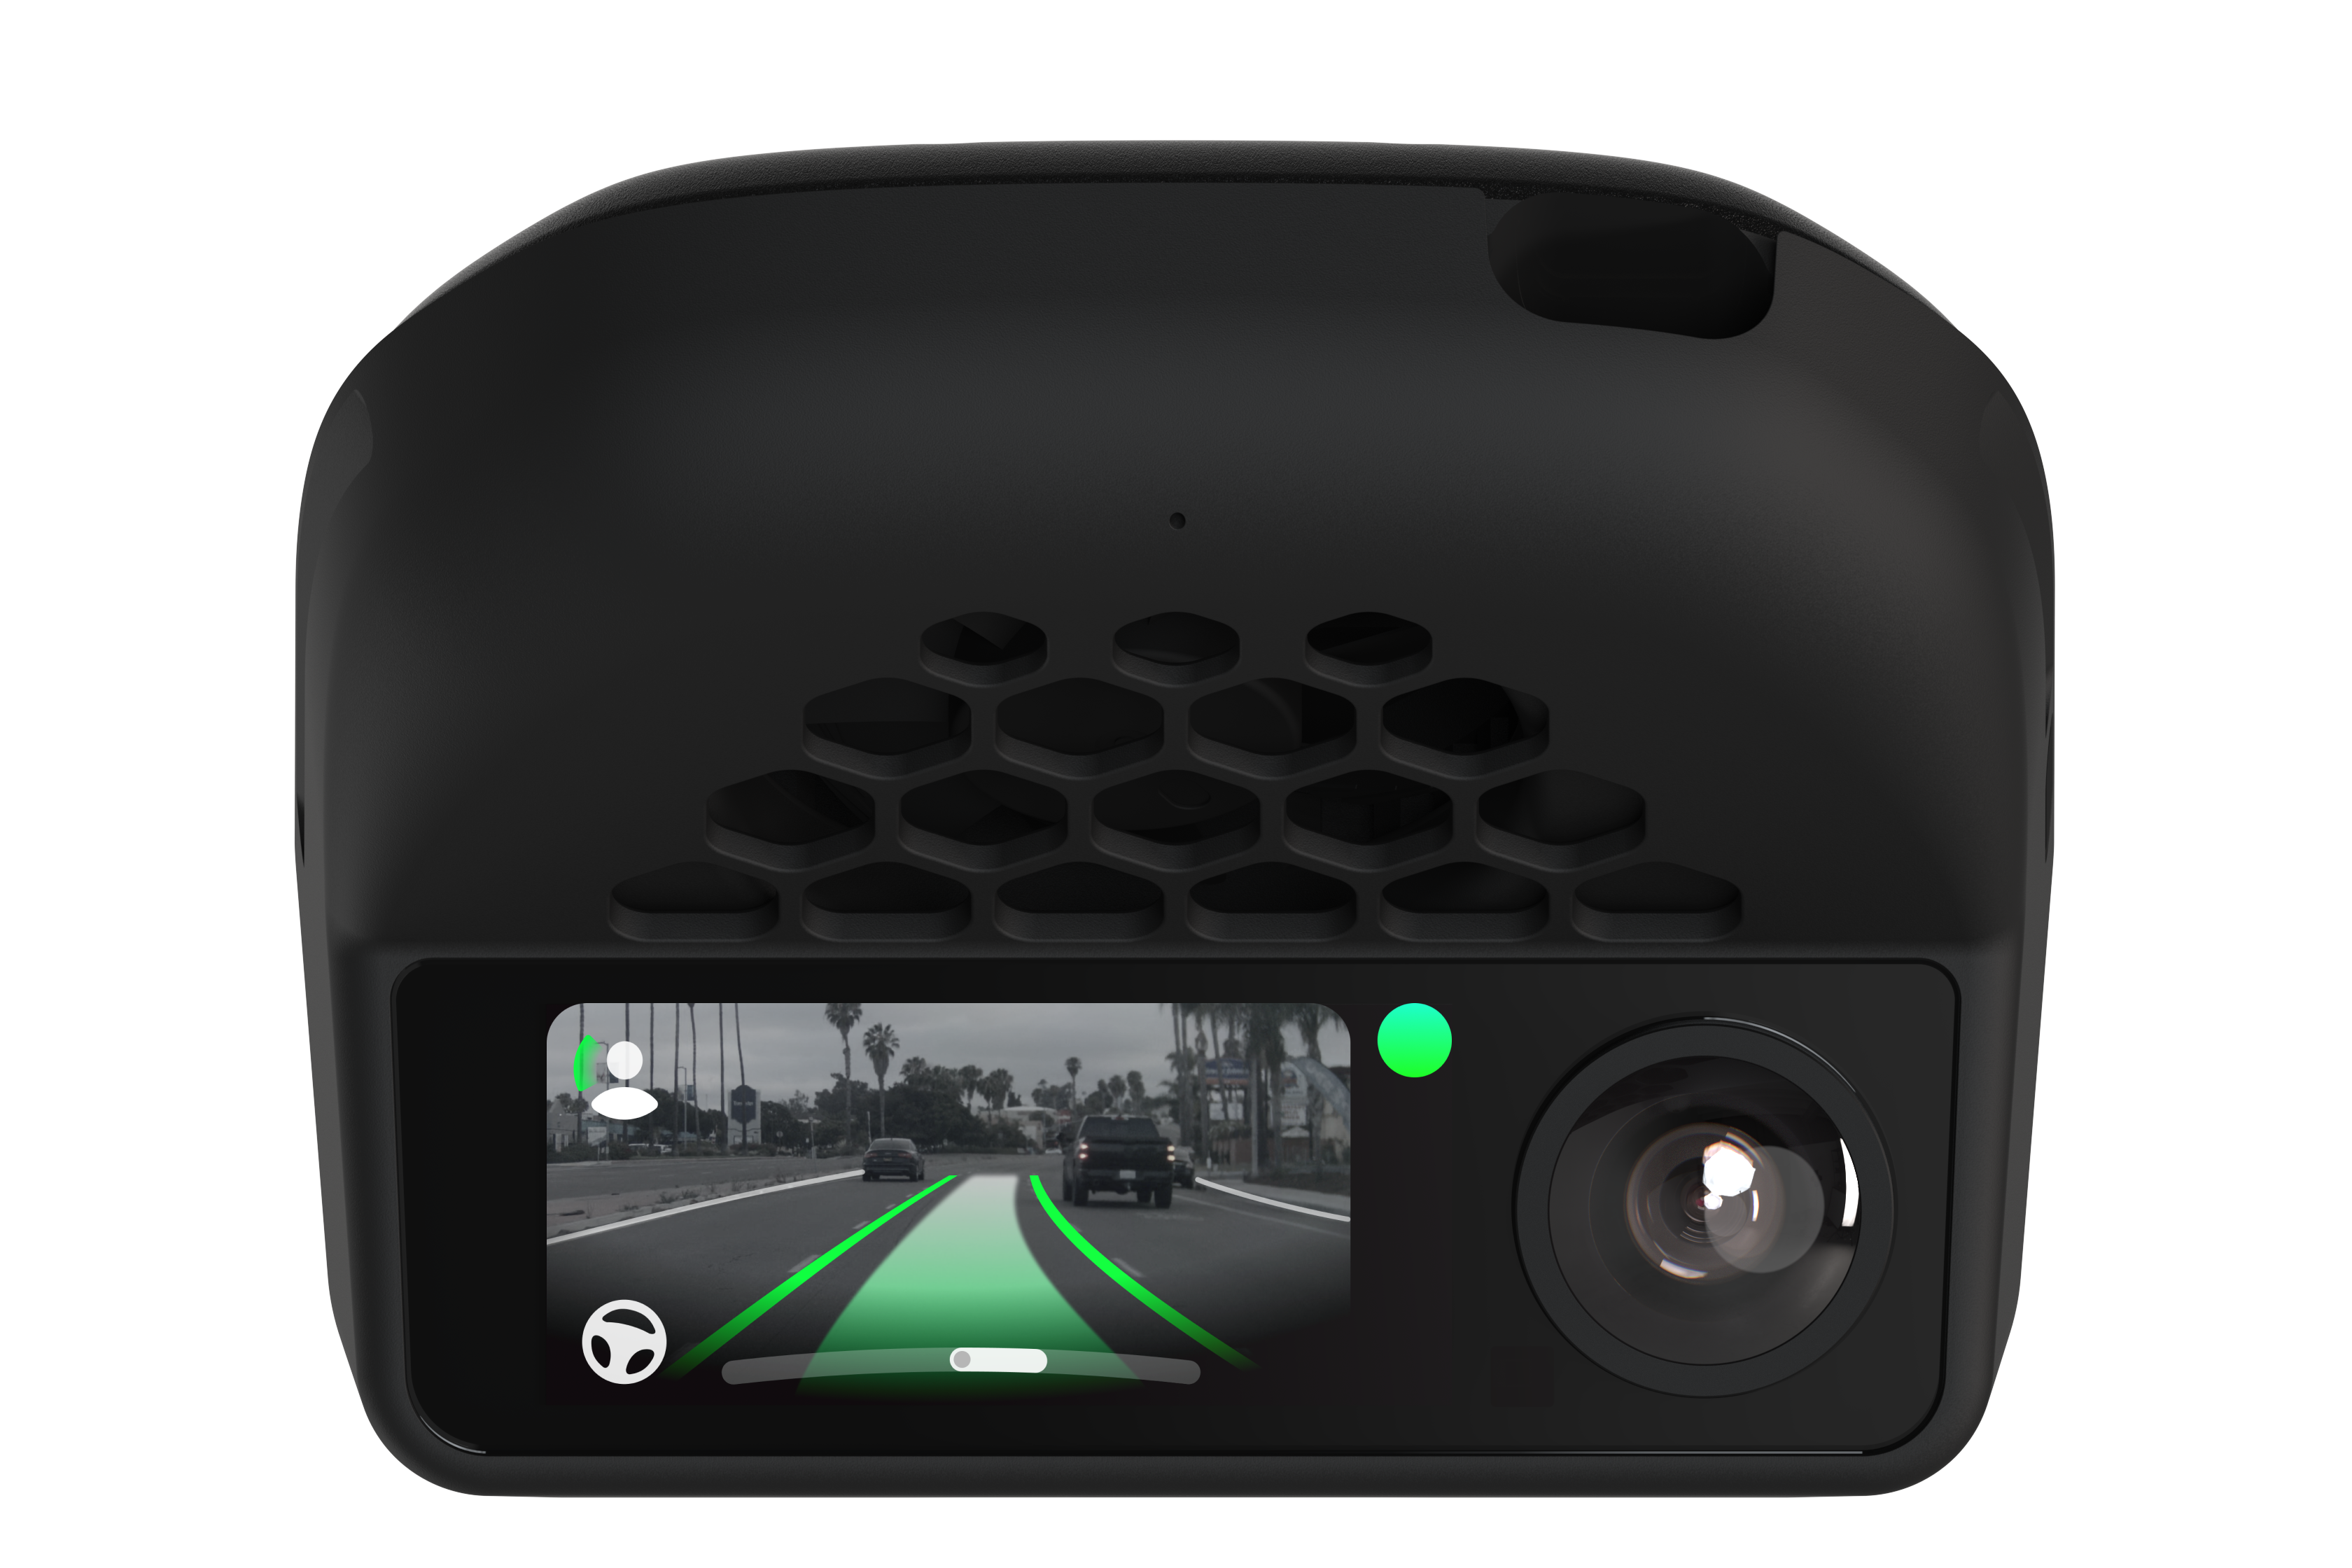
- comma four
- OBD-C cable (1.5 ft)
- 2 mounts
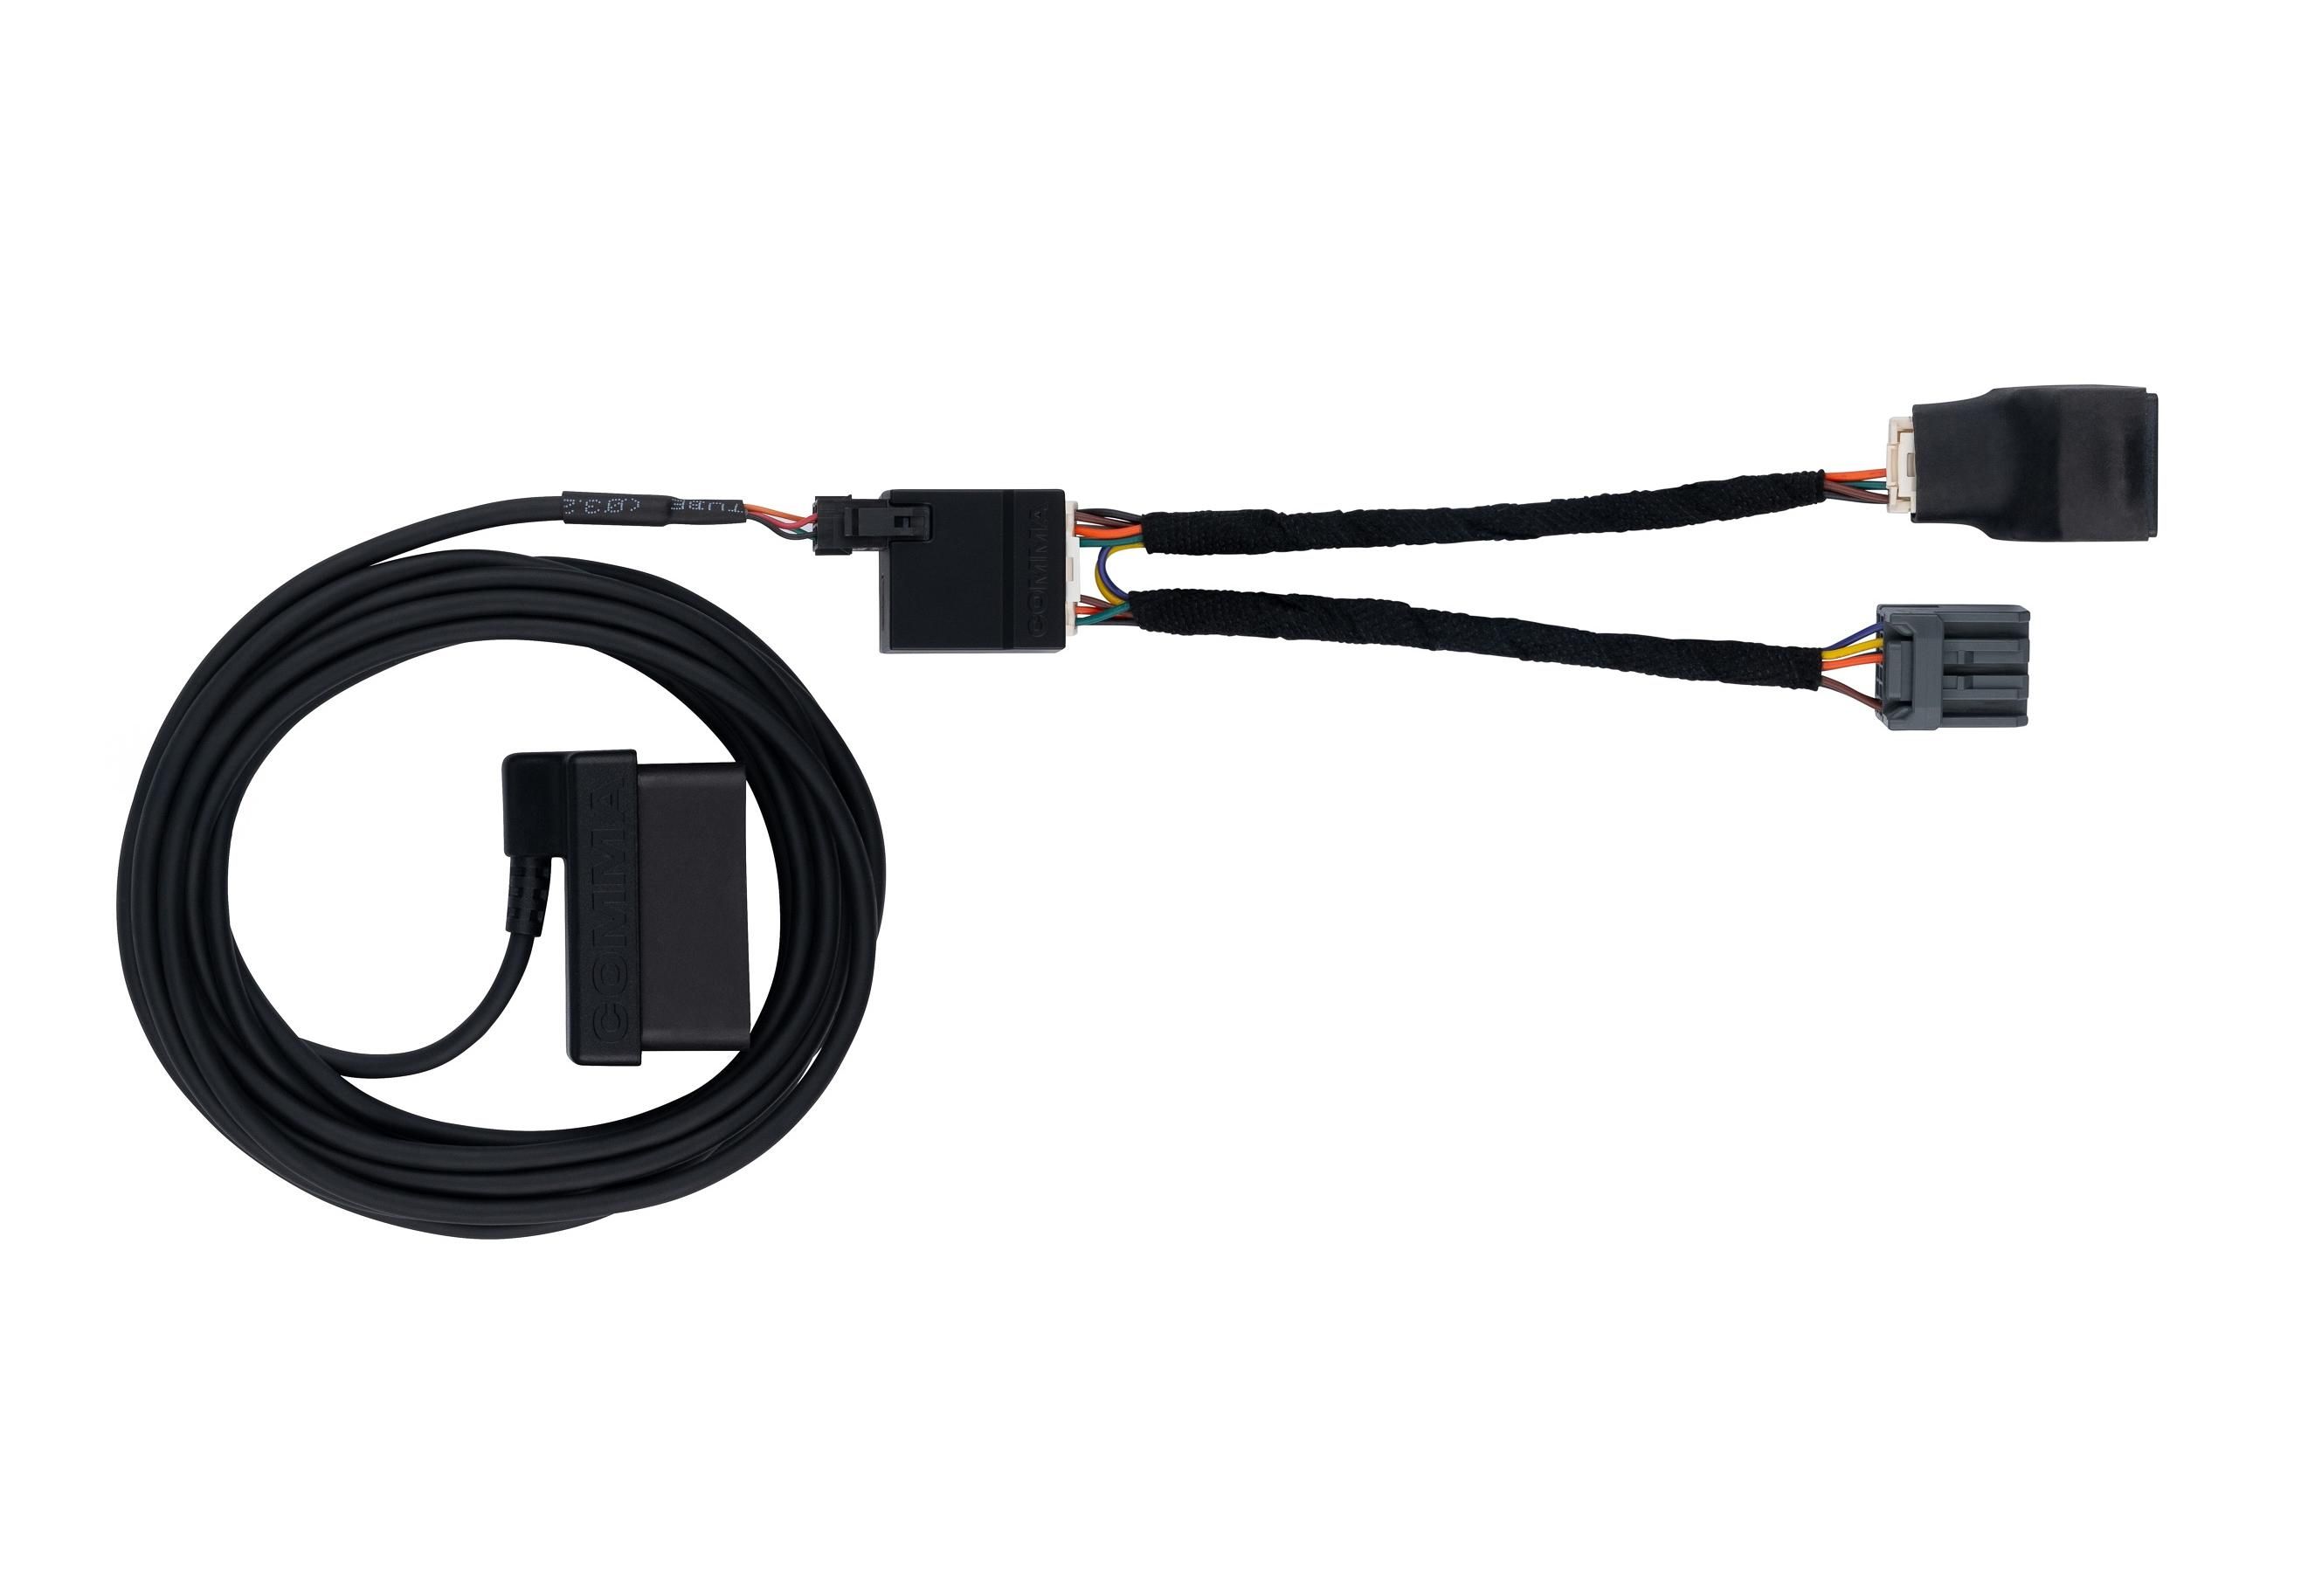
- car harness (harness box & connector)
- comma power
Select your vehicle to get customized installation notes:
Remove the rearview mirror cover trim
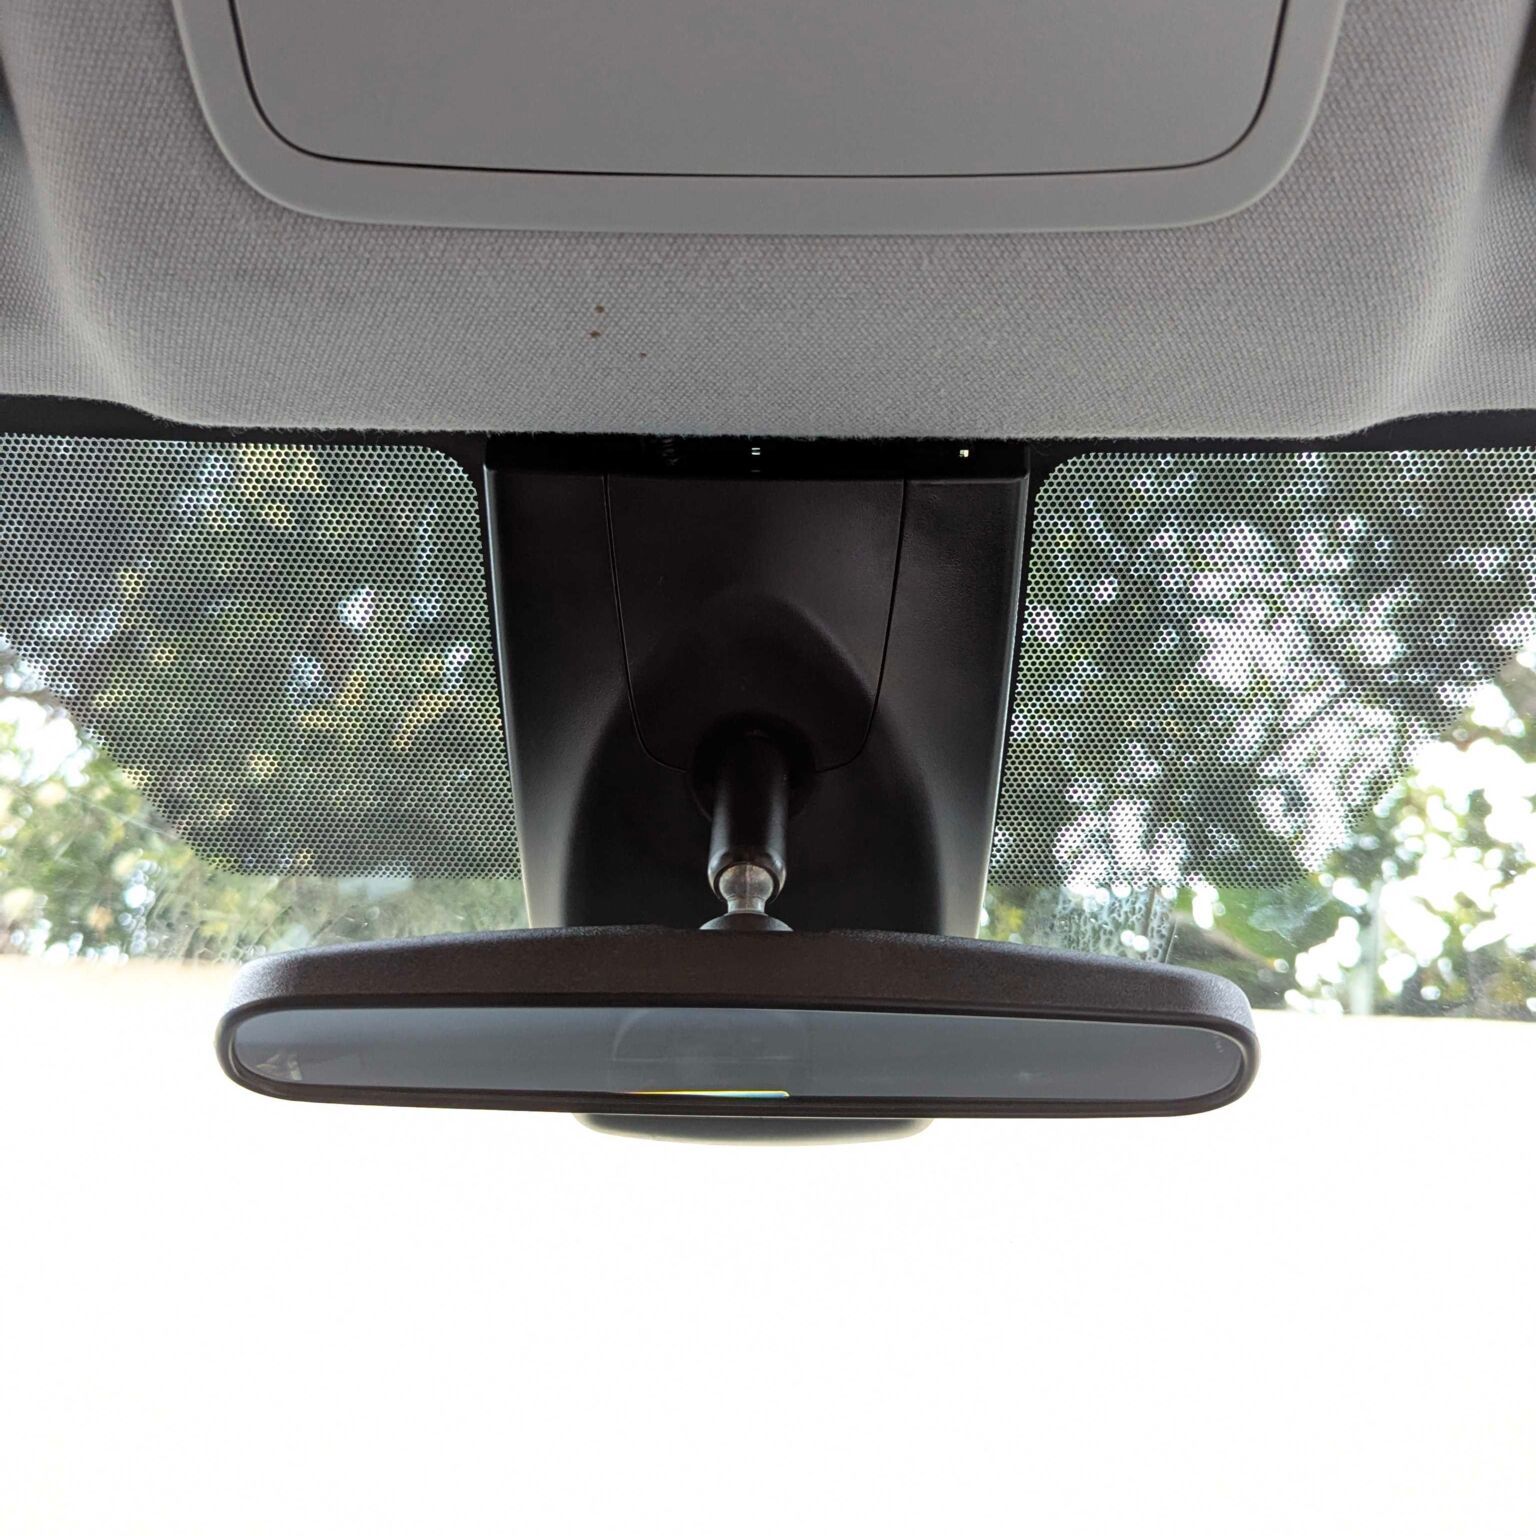
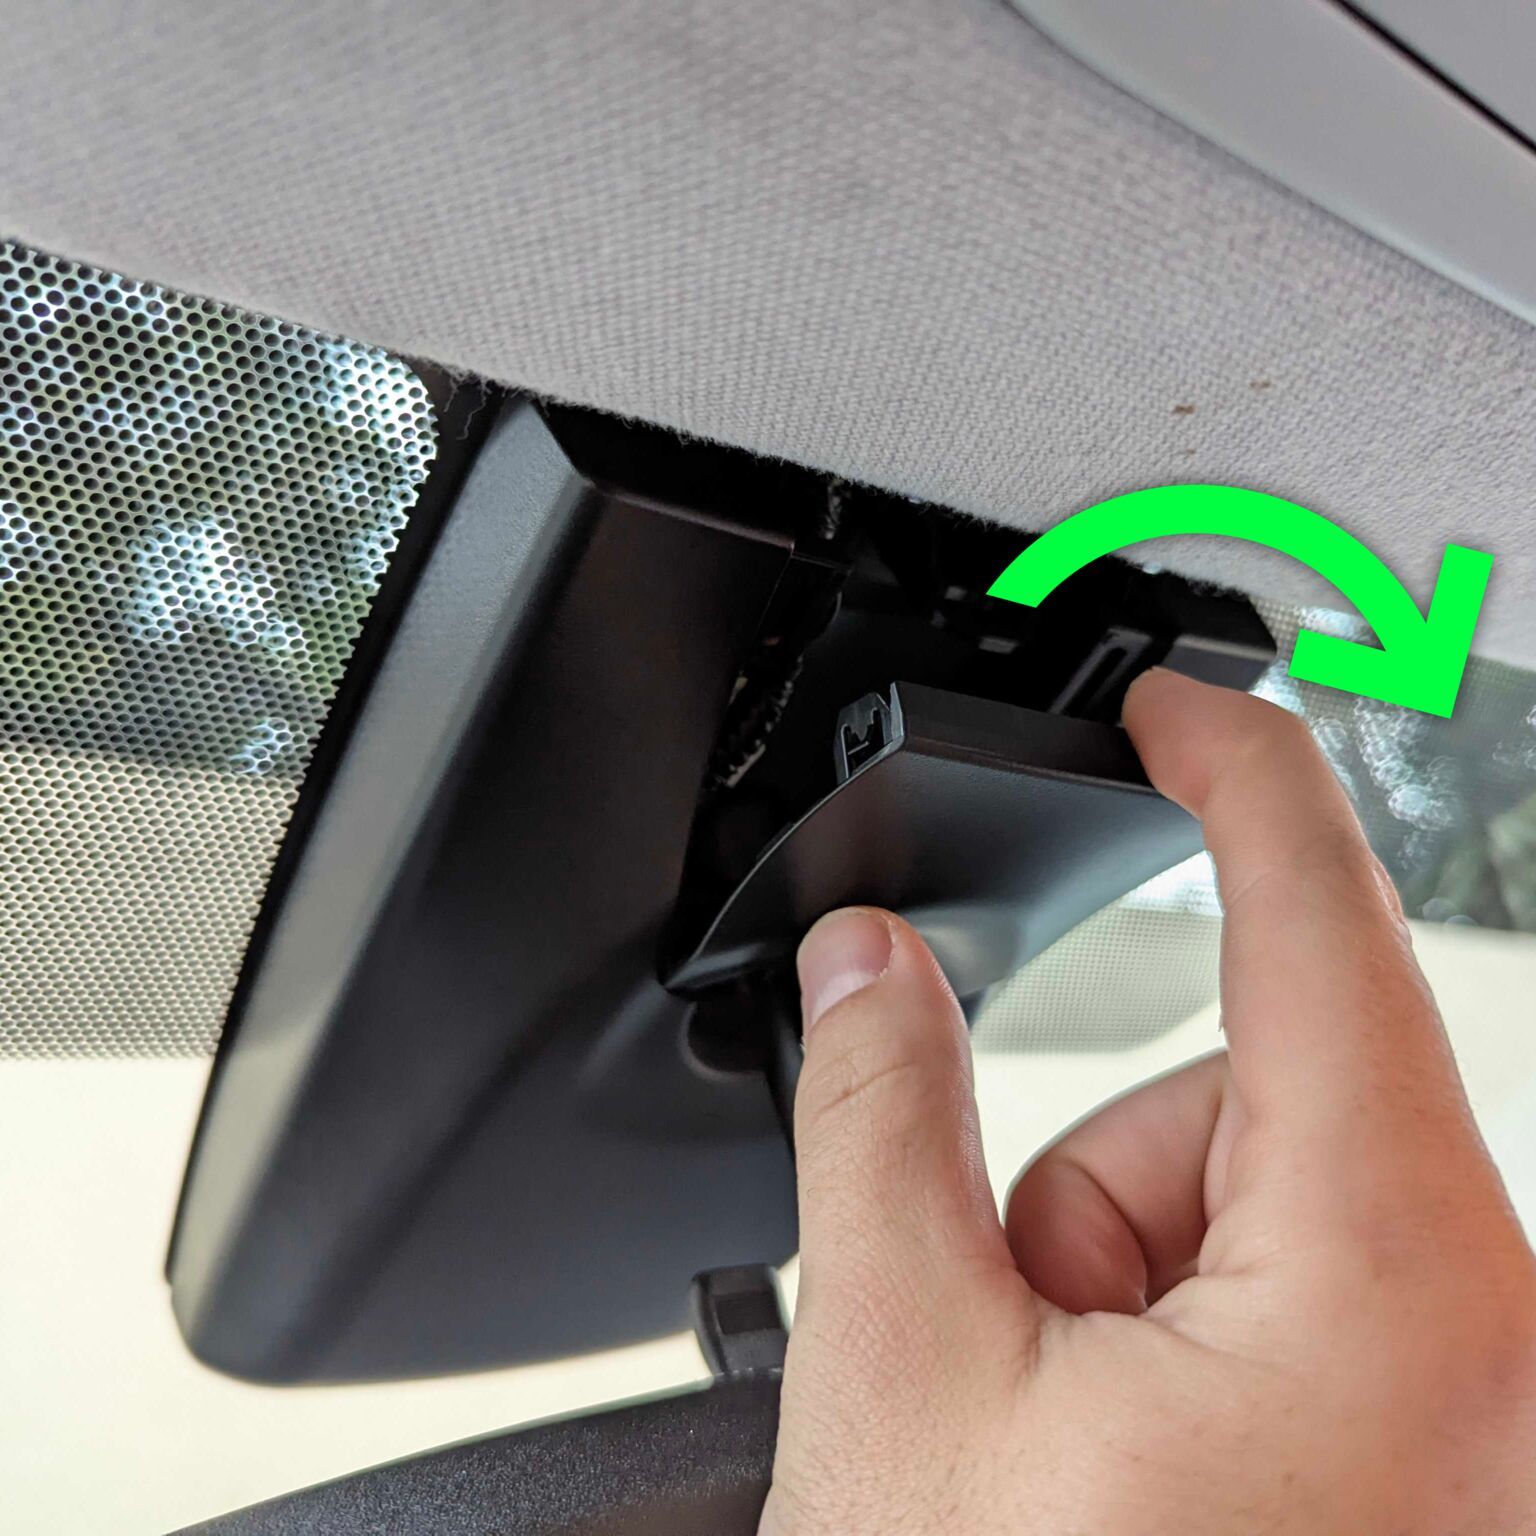
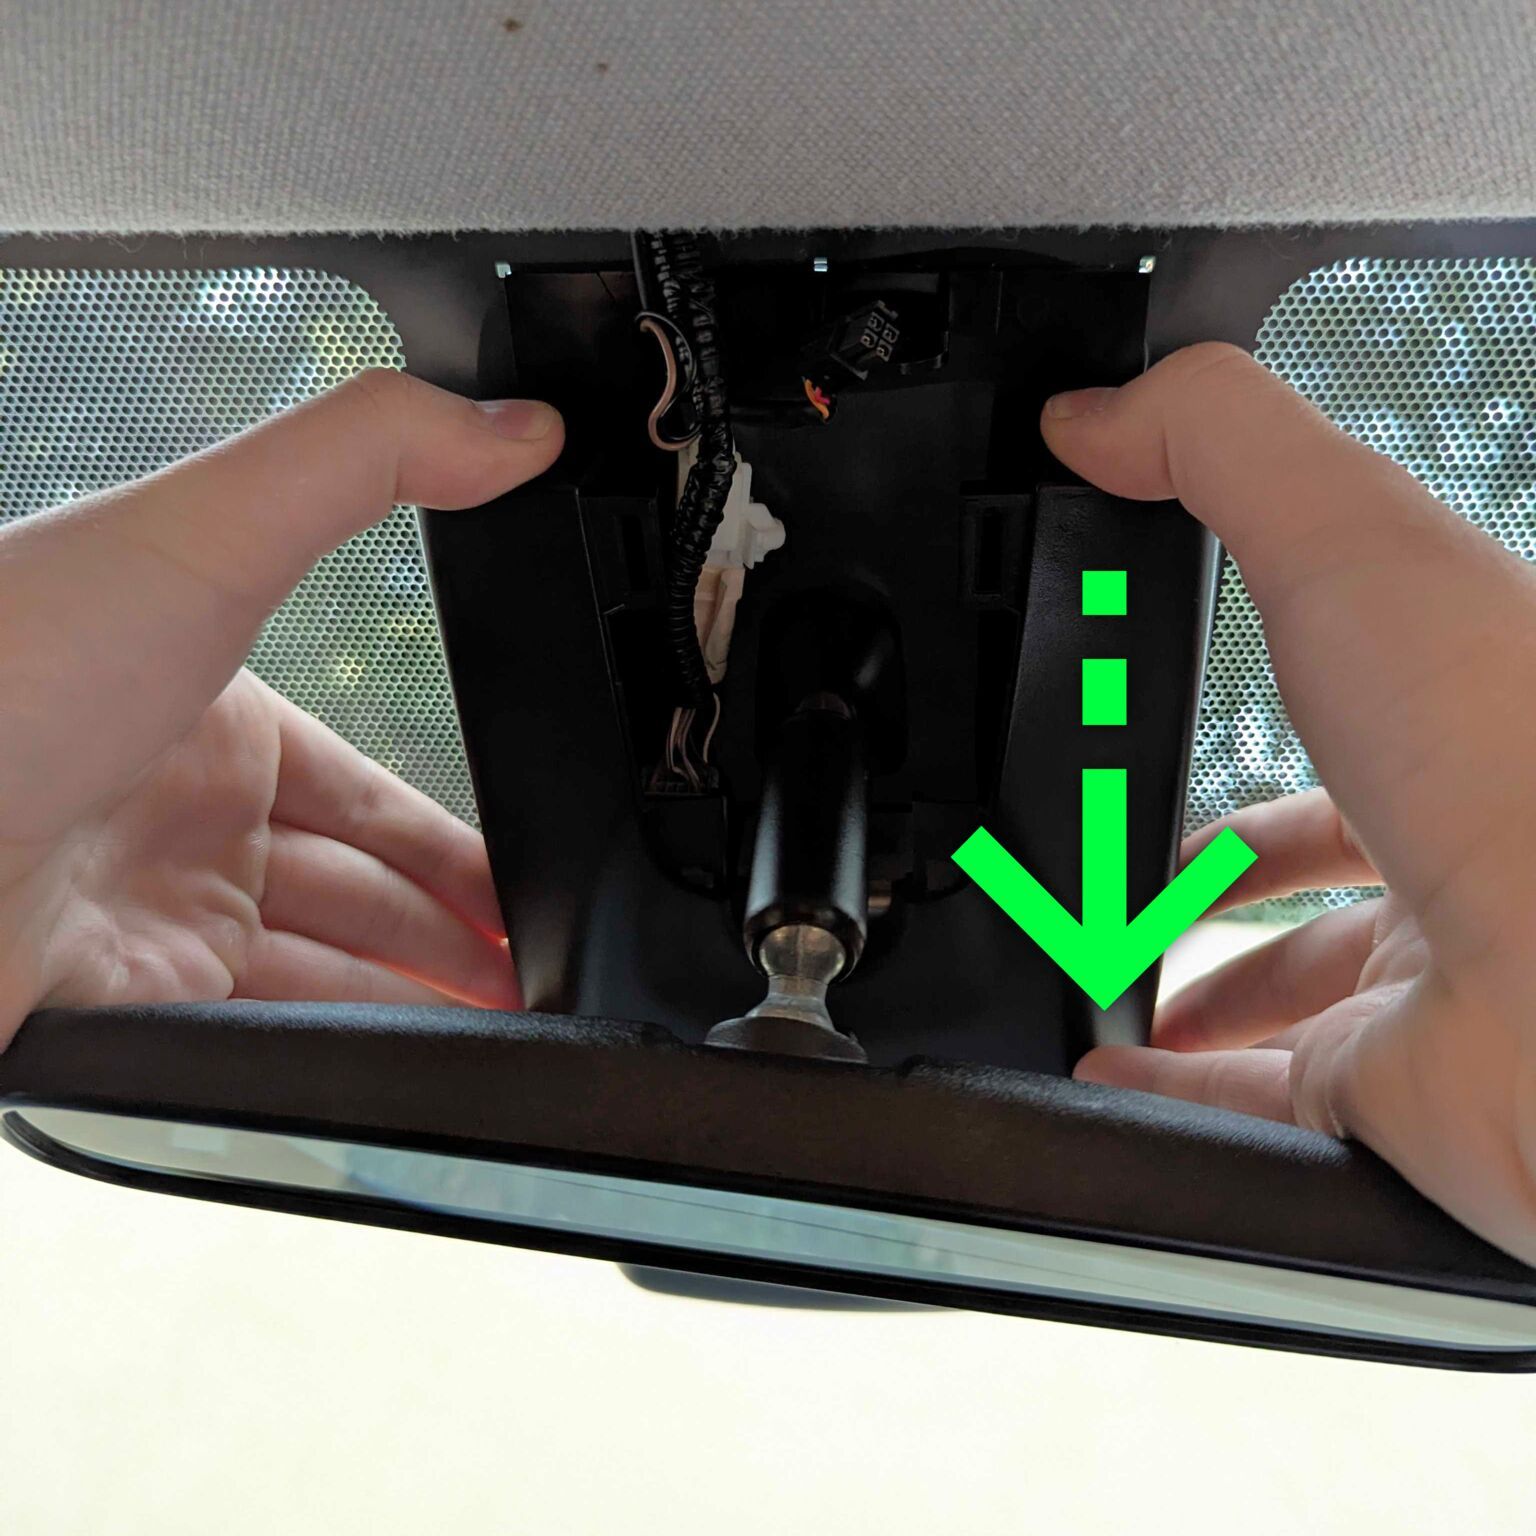
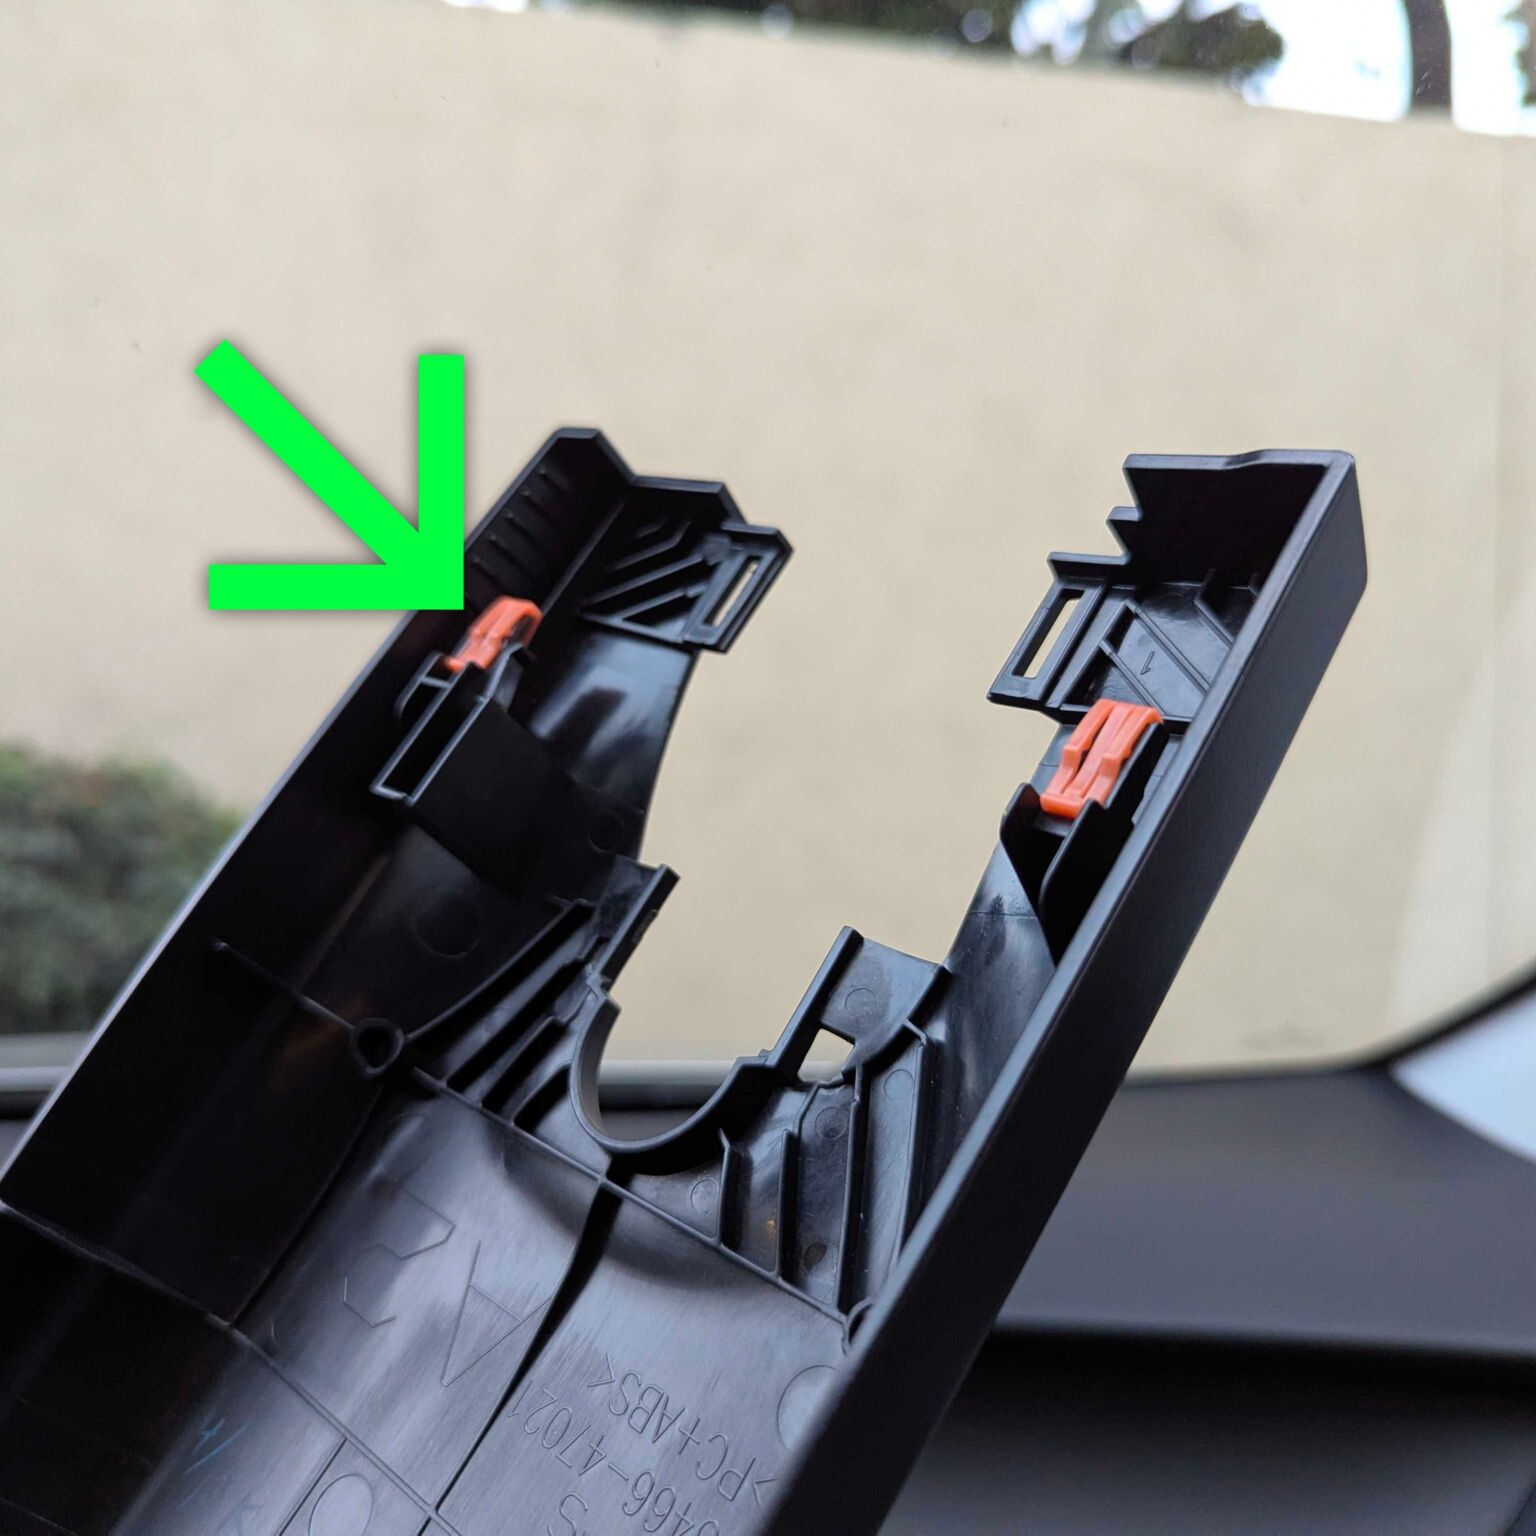
Removal method varies by car. The durable plastic often requires a strong tug to pop it off on Hondas. Toyotas often need a slide outward. If you'd like to see how it's done, find a comma installation guide for your specific make on YouTube.
Connect car harness into the camera

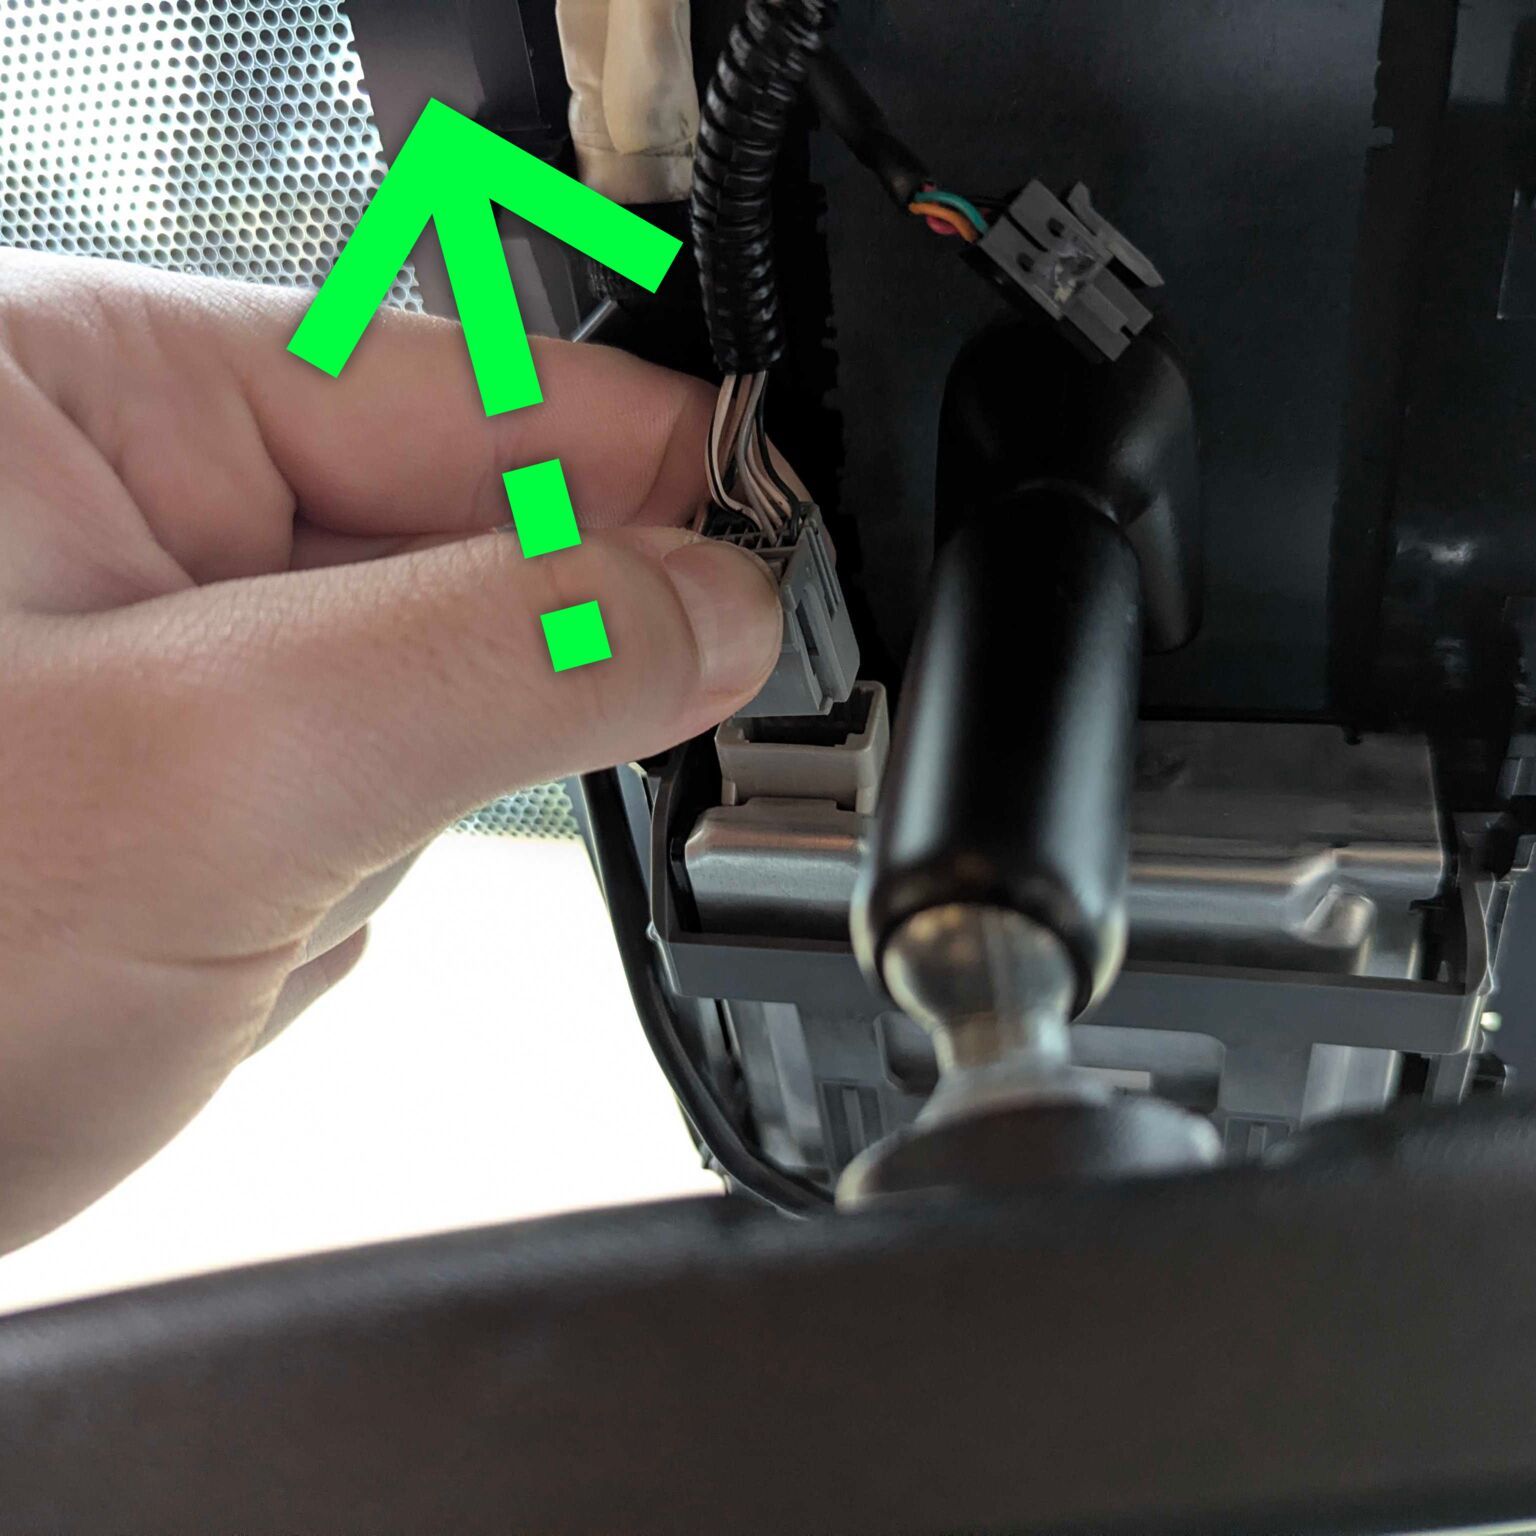
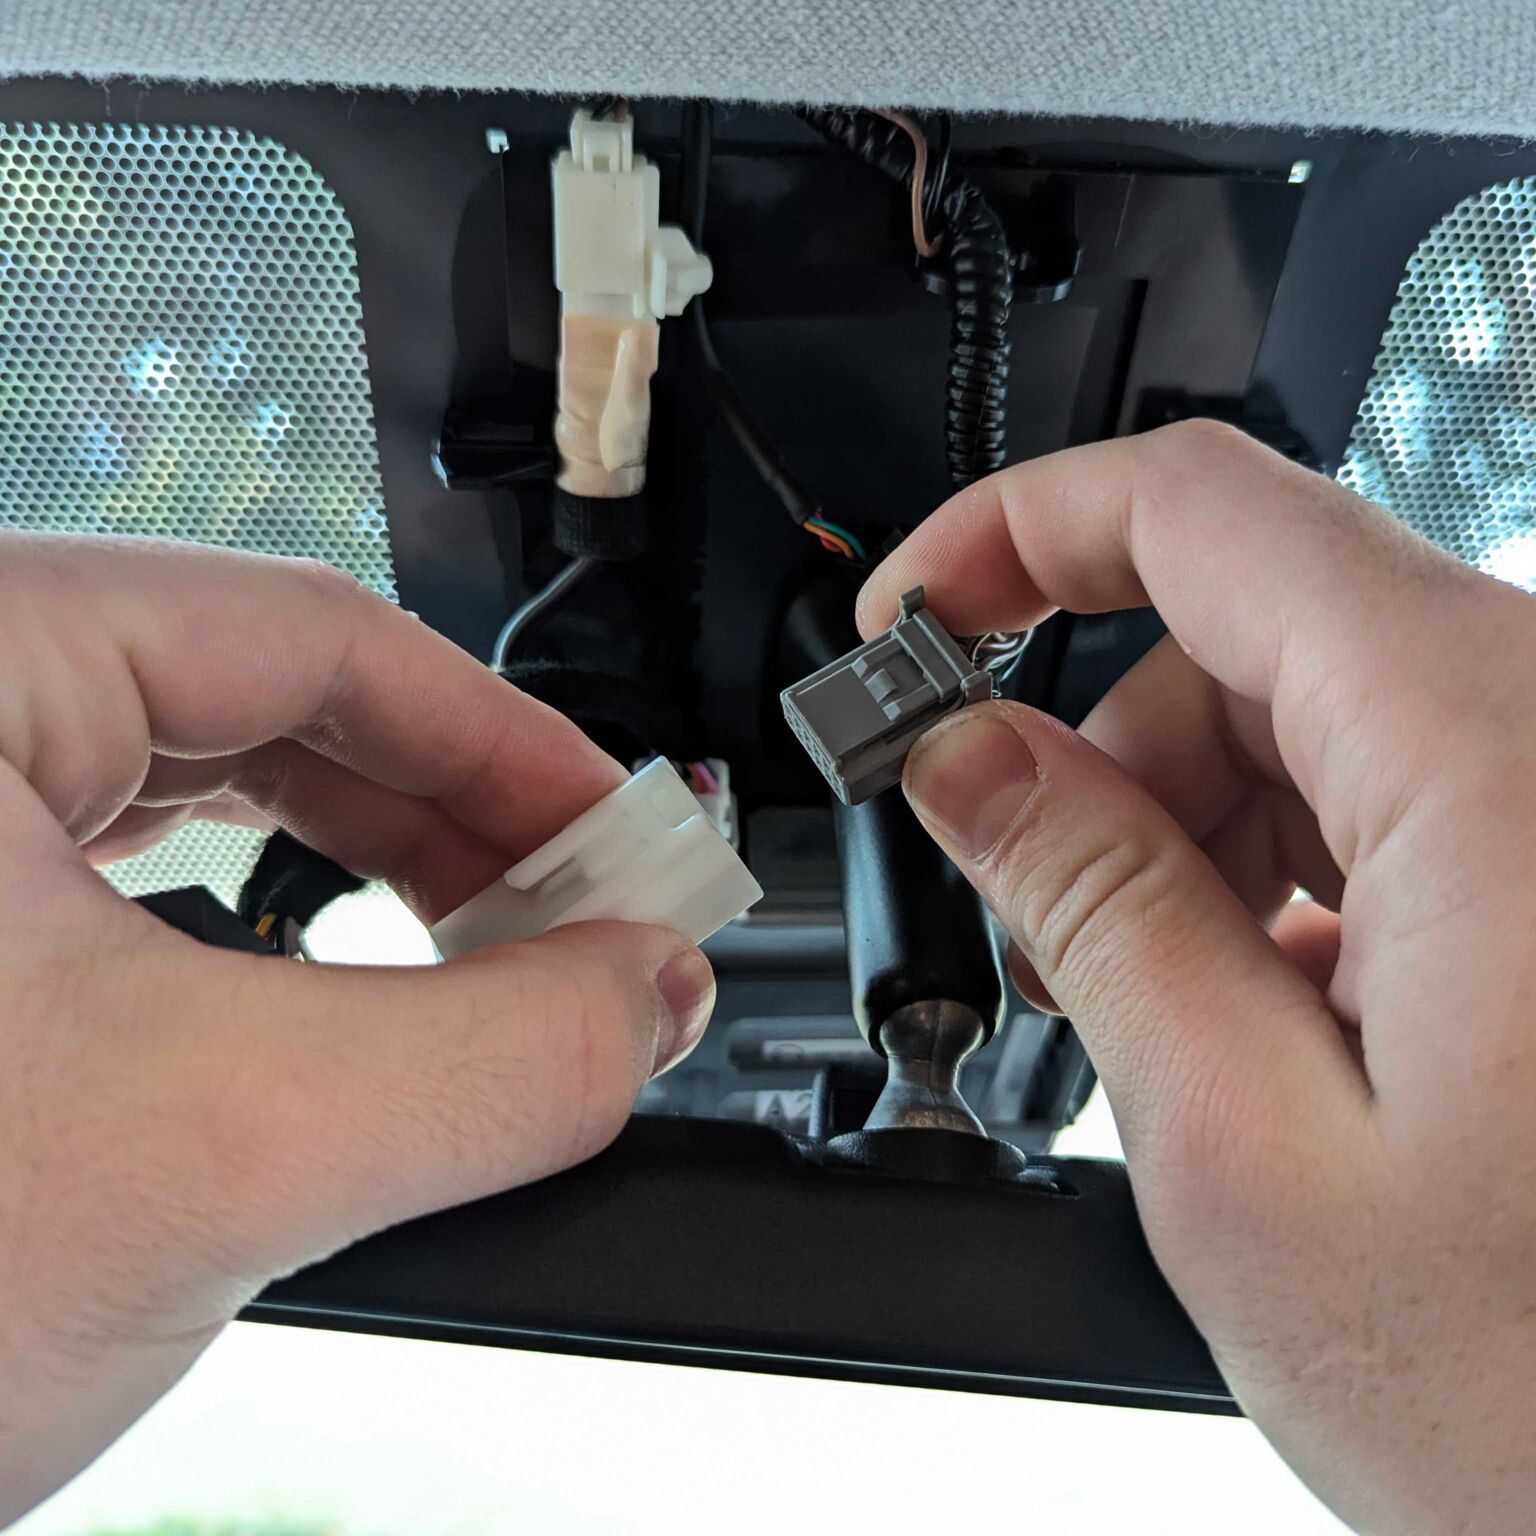
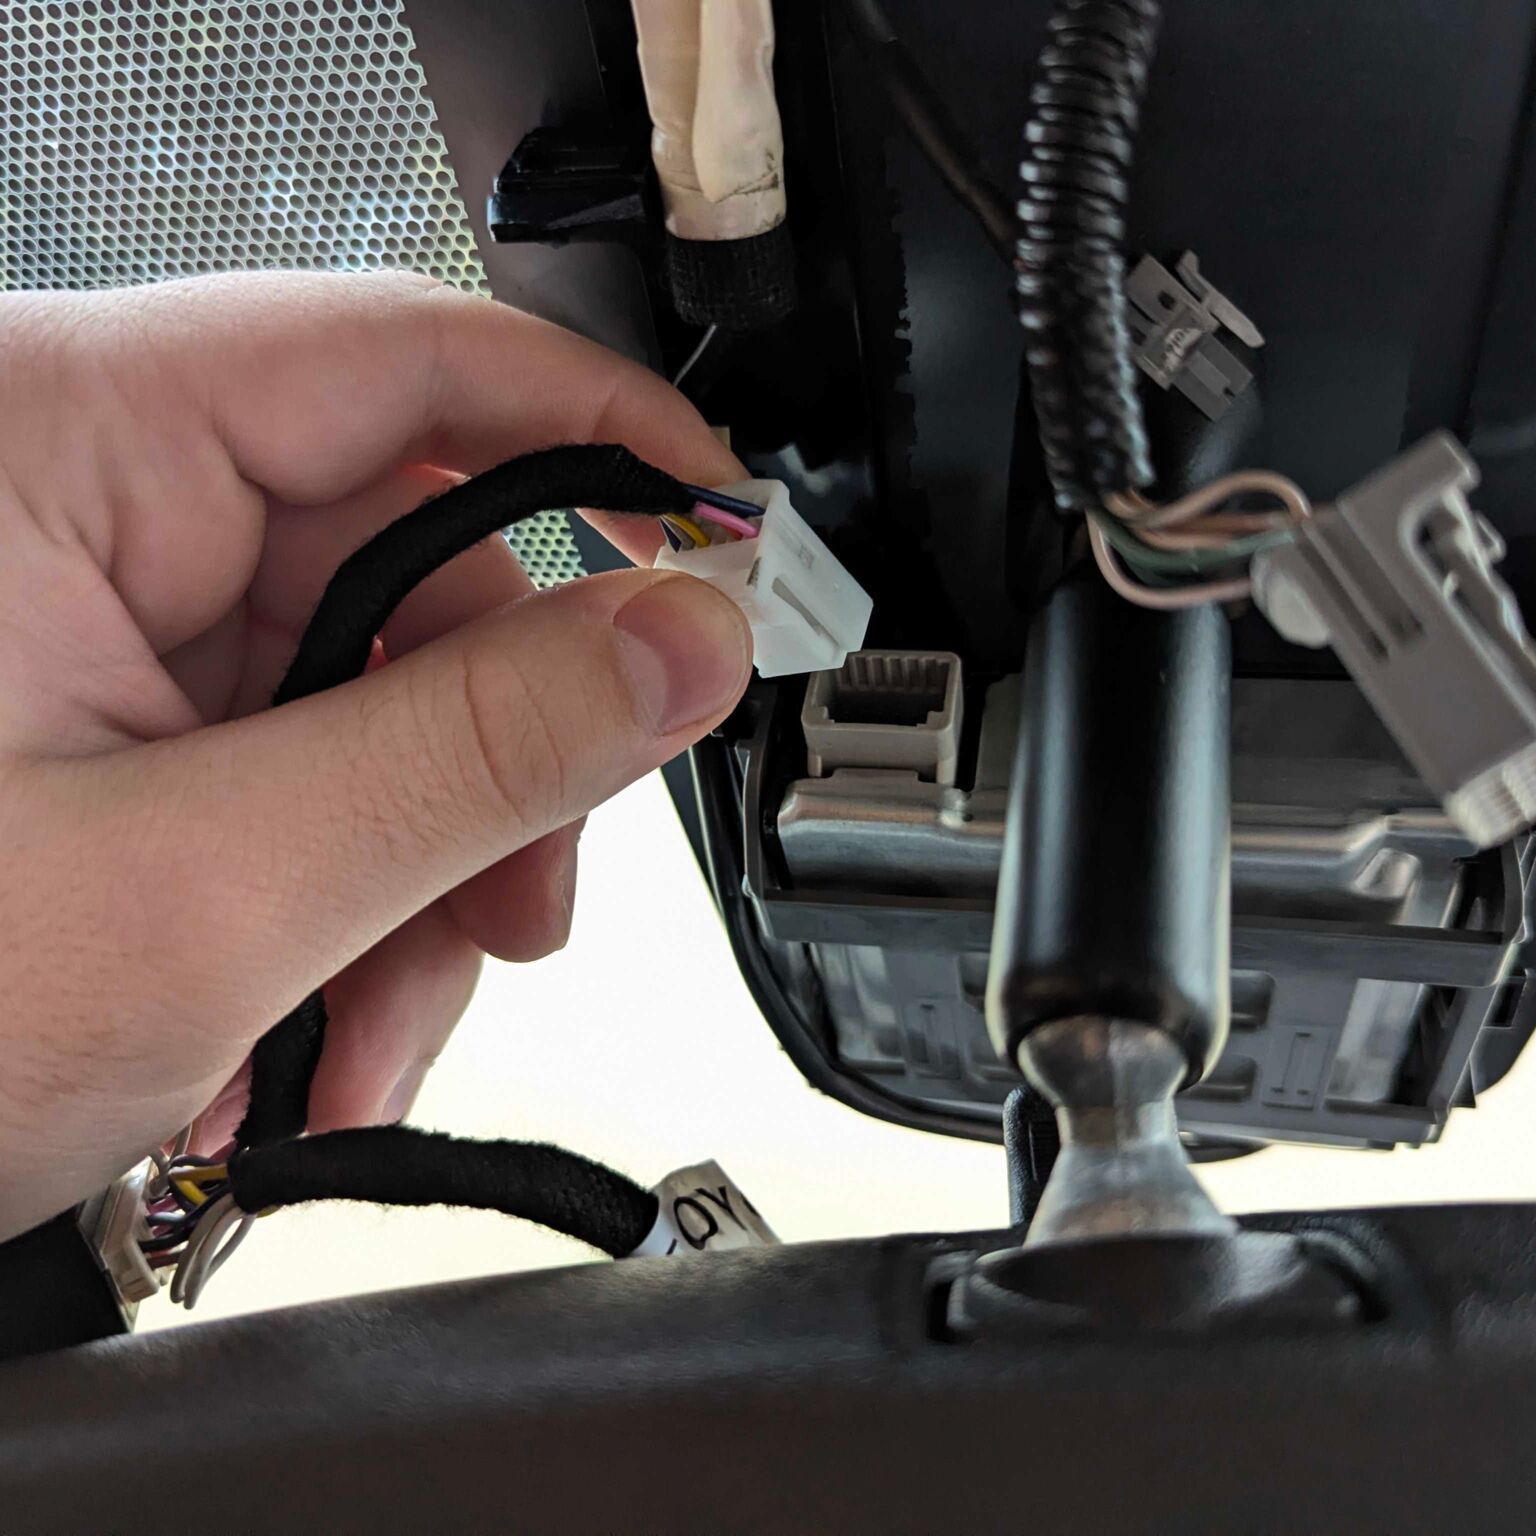
- Unplug the existing LKAS camera connector and plug it into the harness.
- Connect the other end of the harness back into the LKAS camera.
- Secure the harness – Find a spot for the harness box so the trim can still be installed over it. Peel off the adhesive sticker and attach the harness in place.
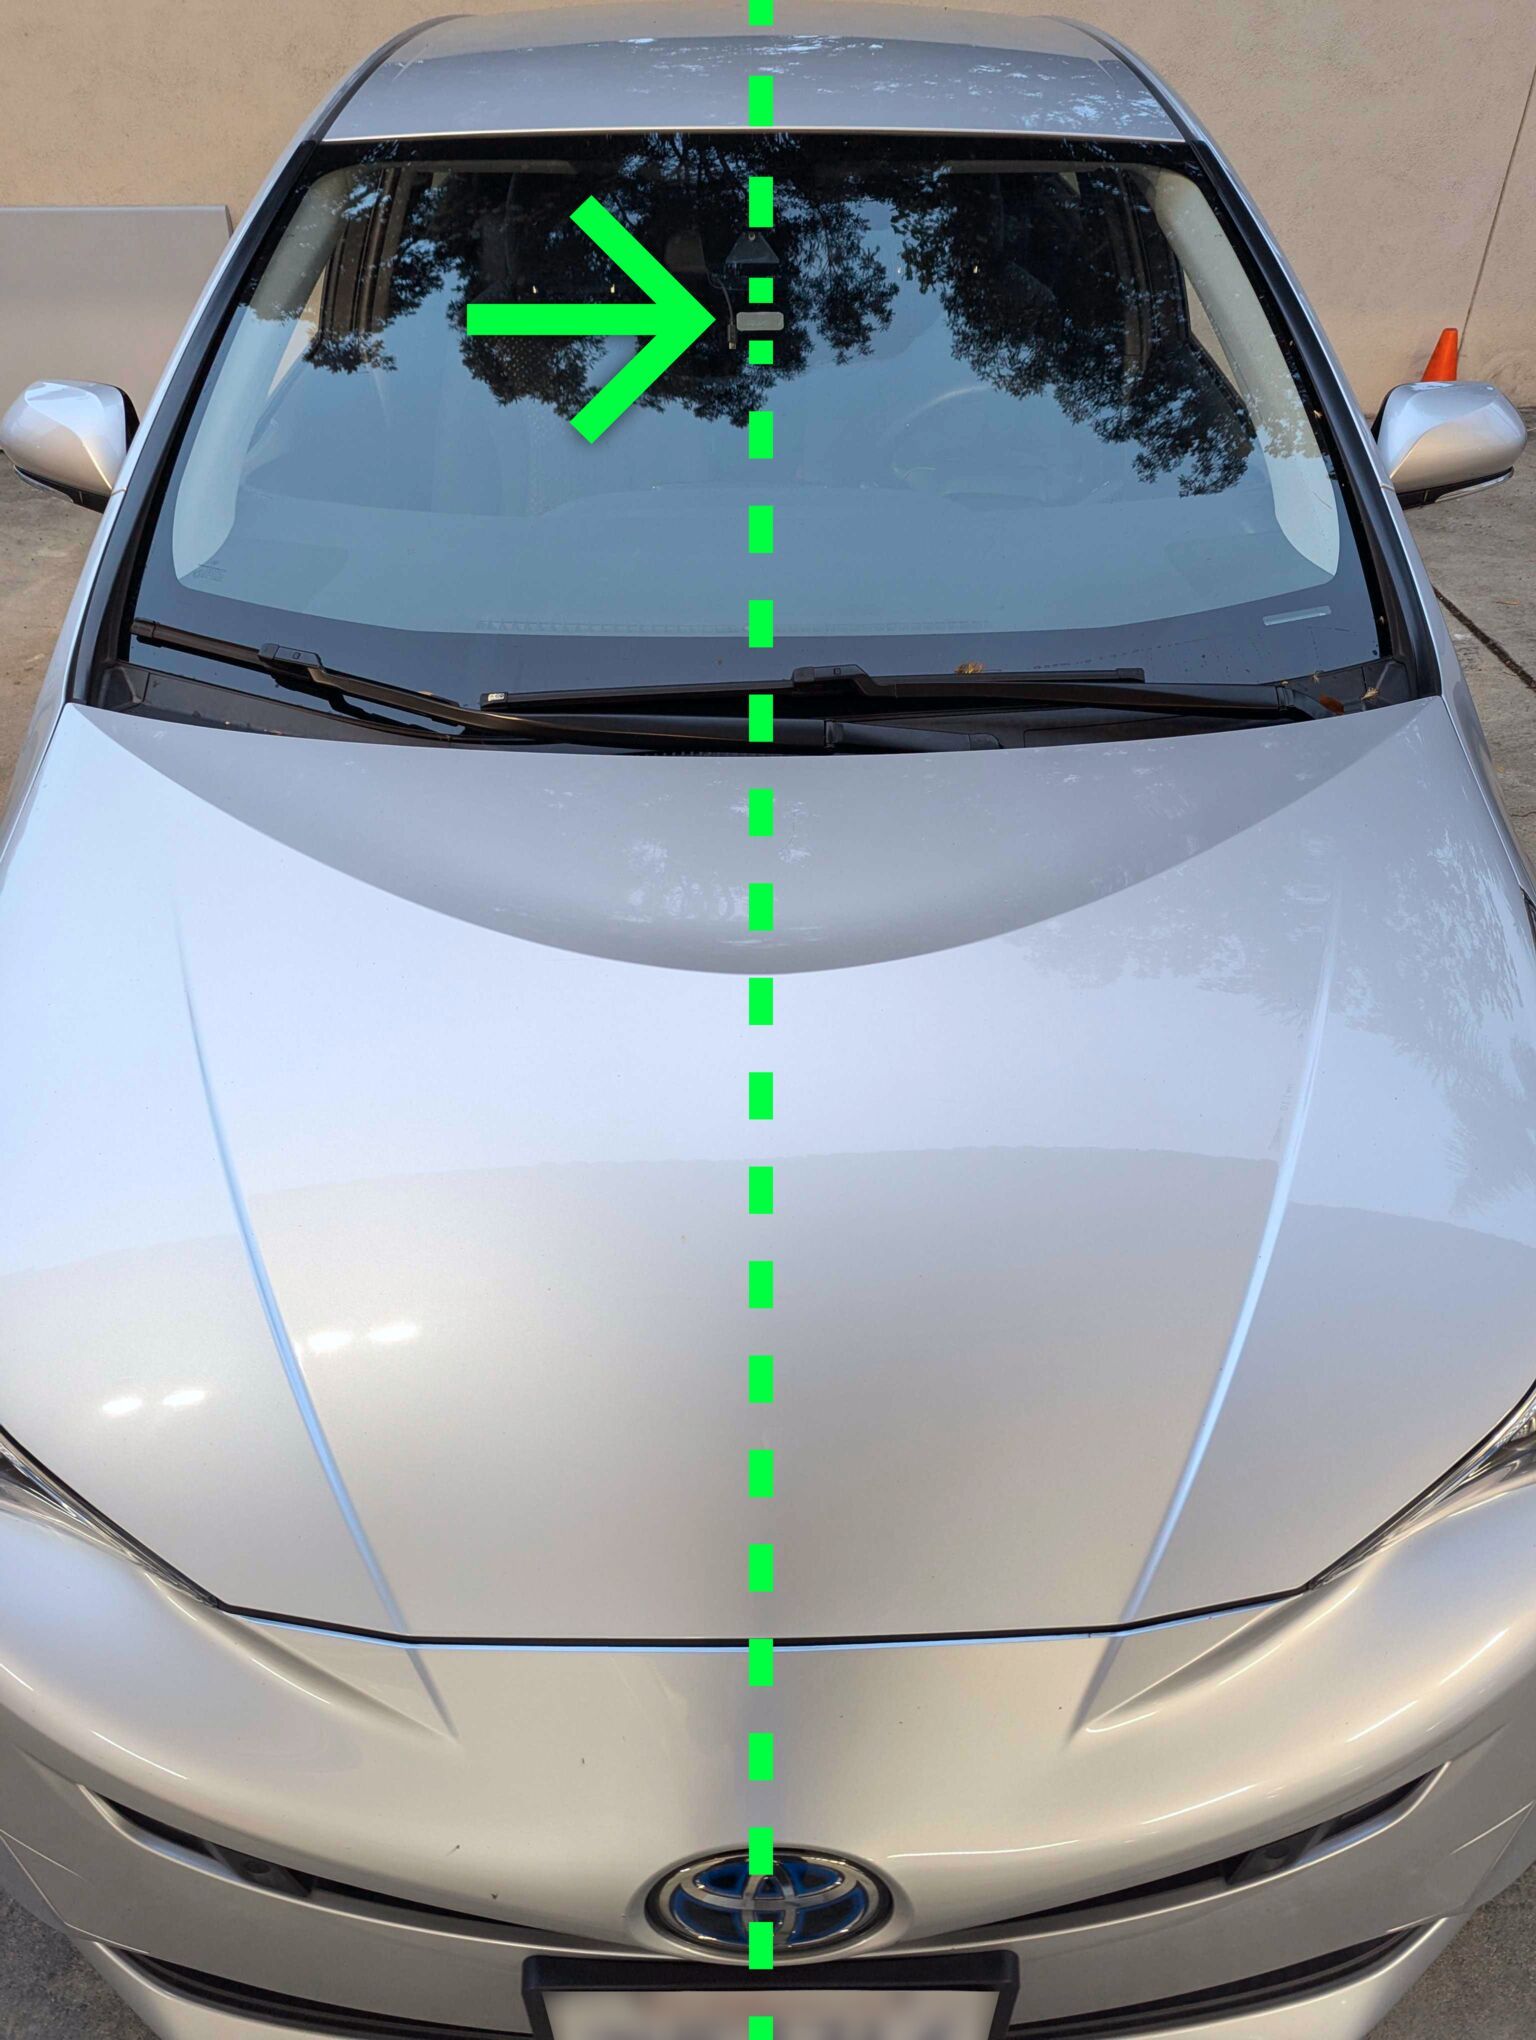
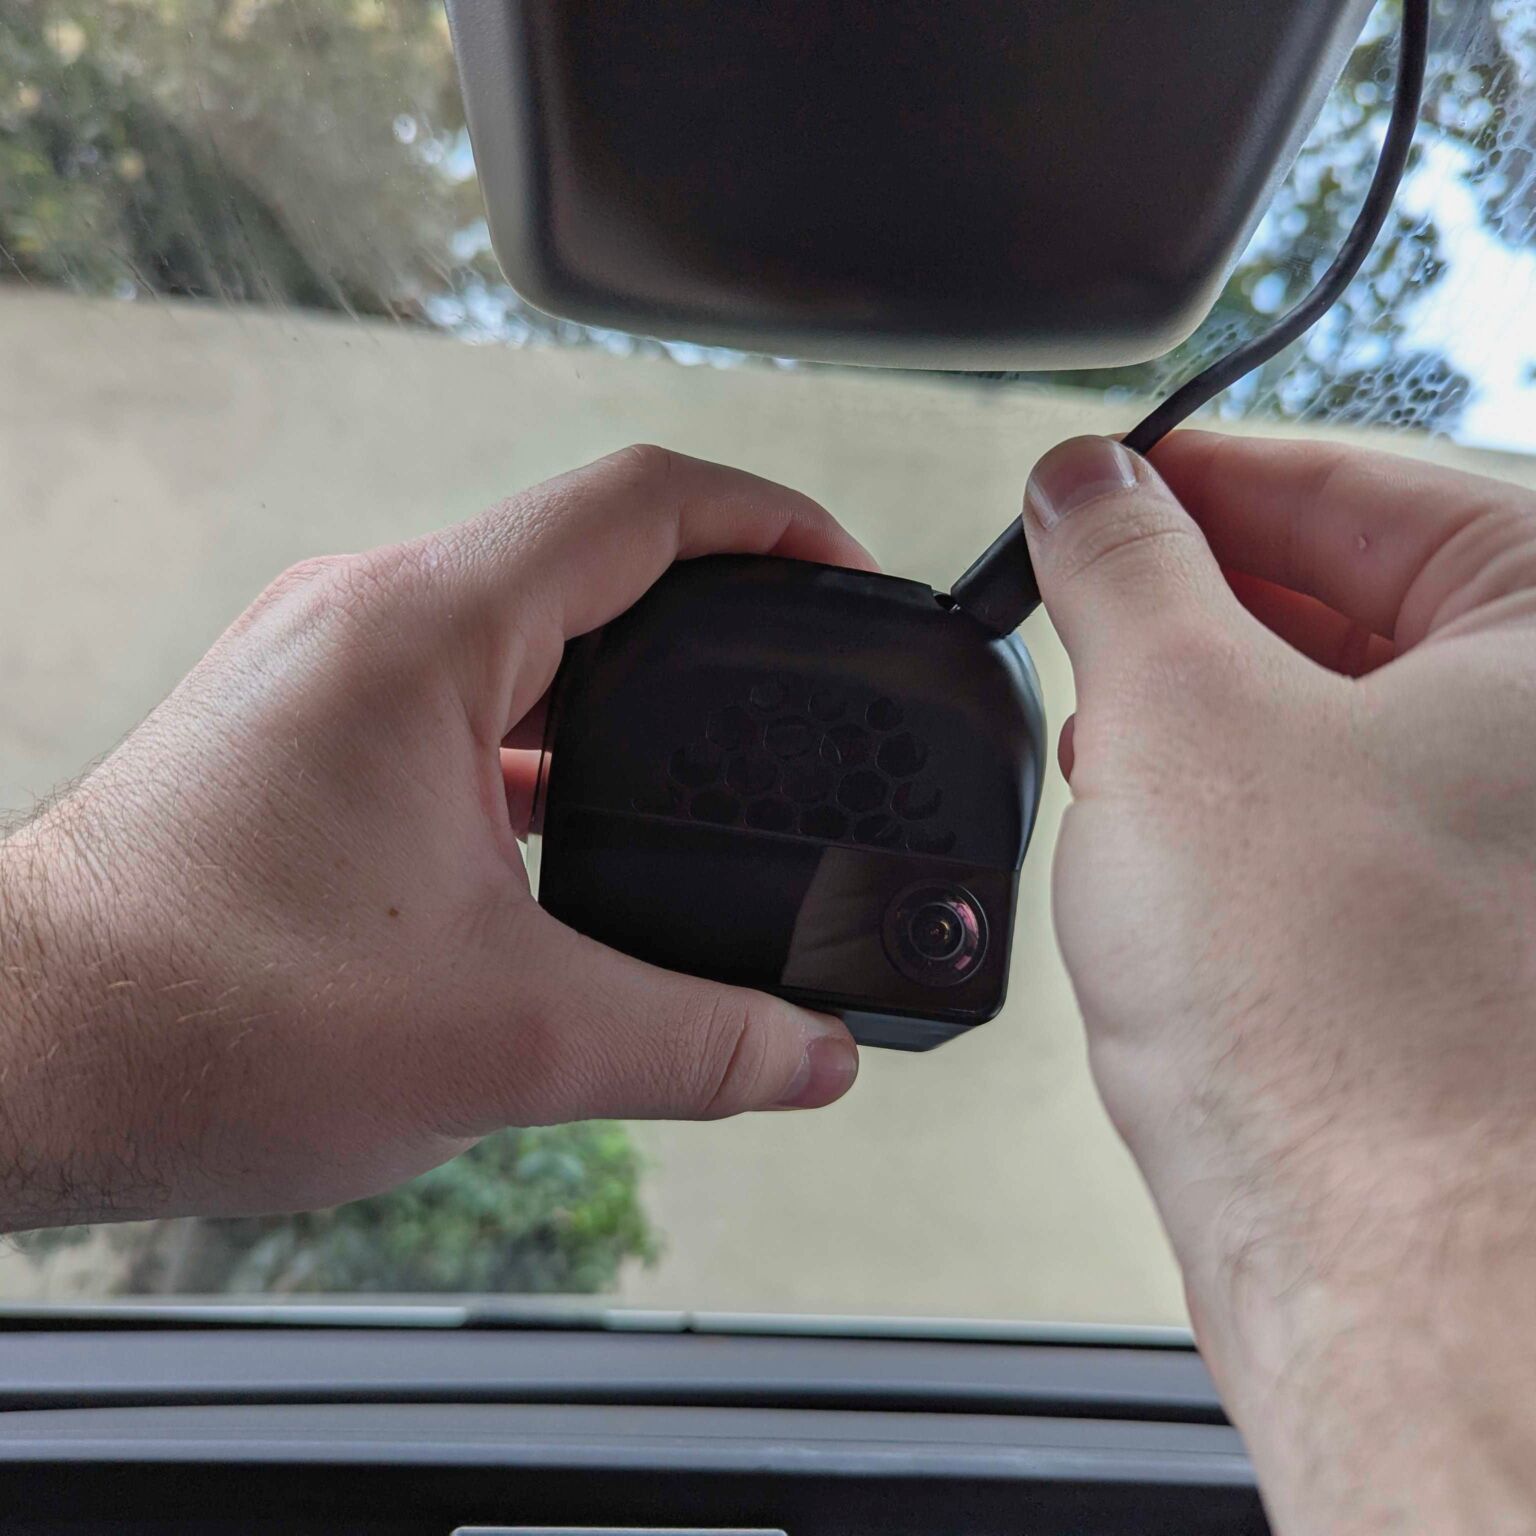
Place mount high and centered on the windshield
- Mounting prep – Clean the mounting area with the included alcohol wipe and let it dry.
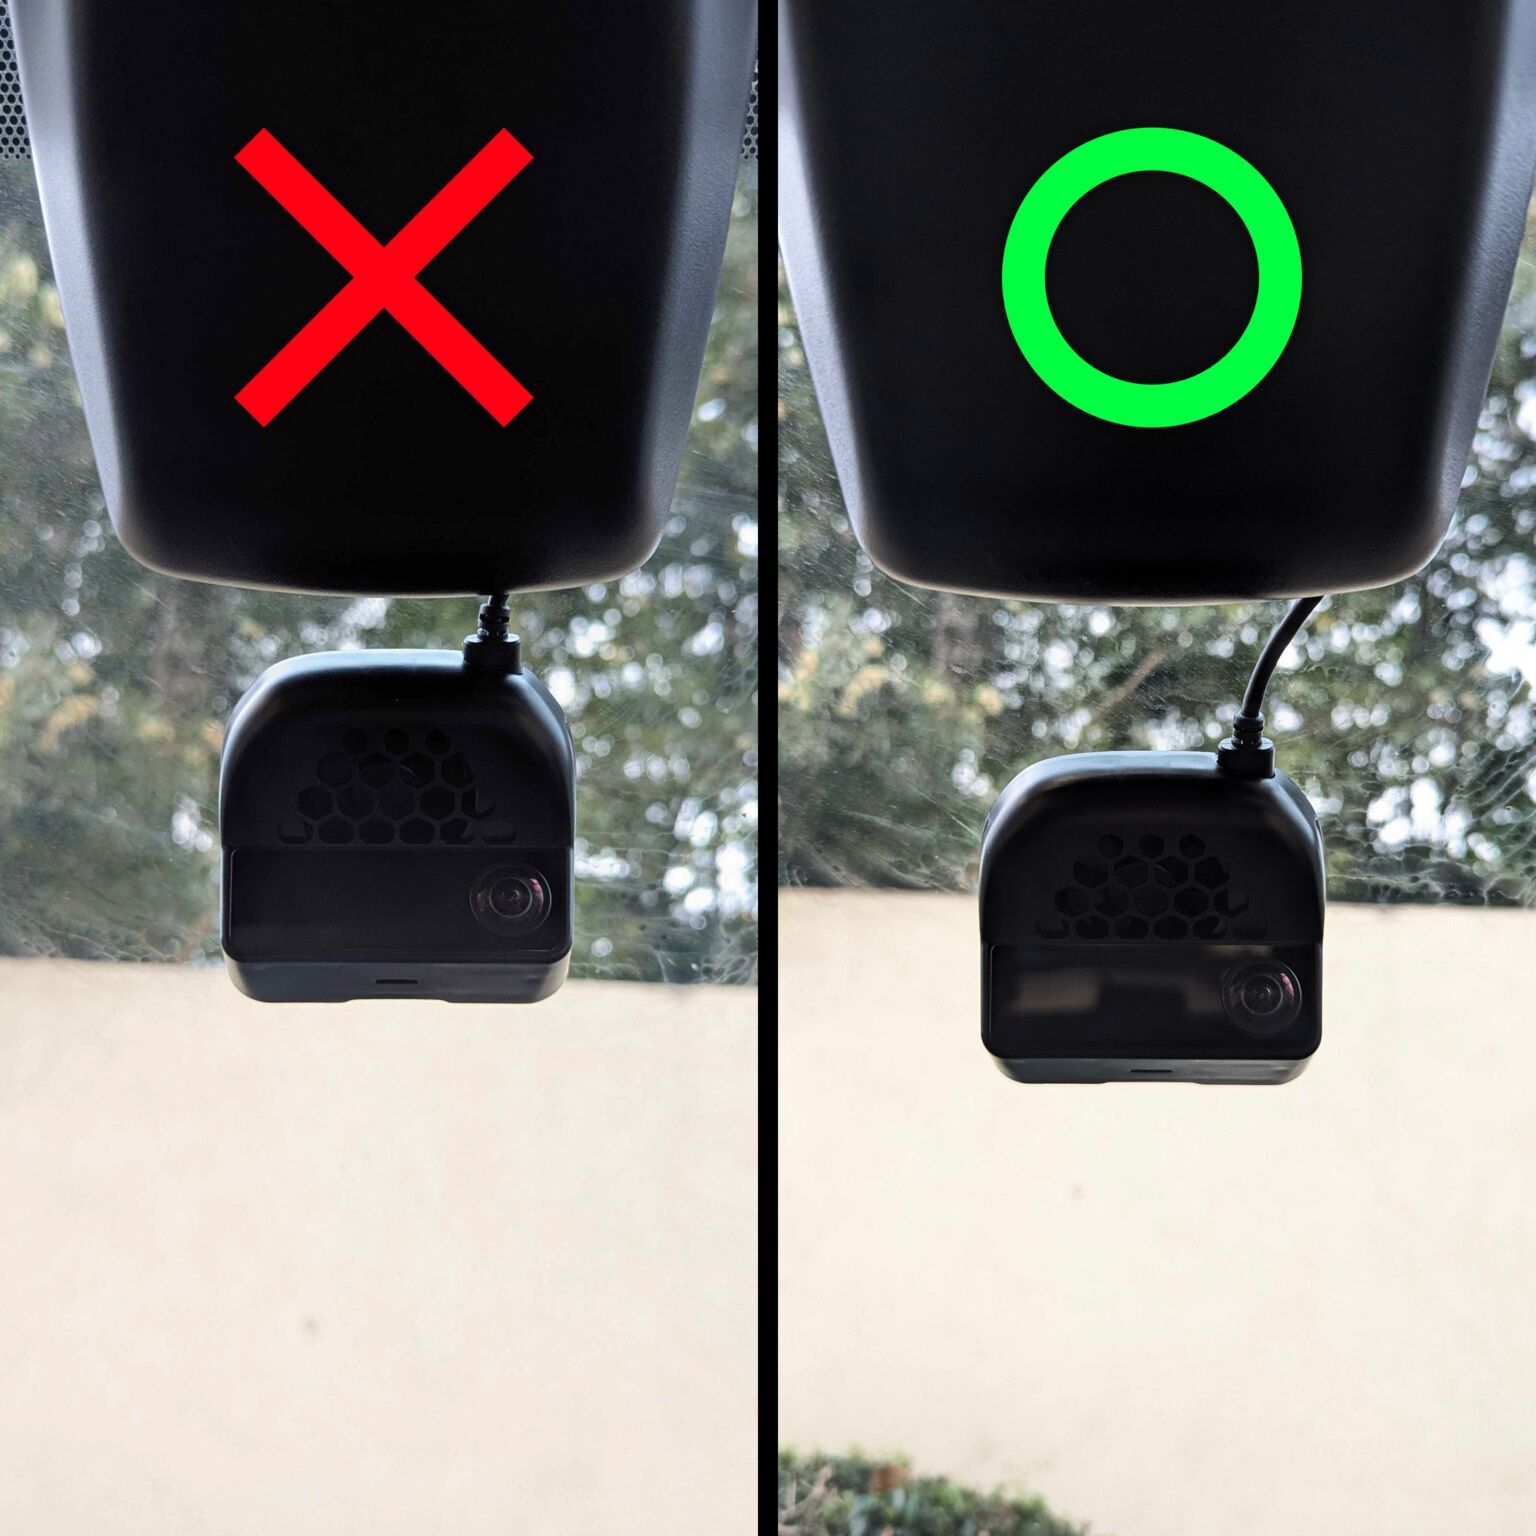
- Vertical Positioning – Ensure there is enough room for the cable when the device is mounted, and that you can see the screen from a seated position.
- Horizontal Positioning – Ensure the mount is centered horizontally, otherwise it will not properly center in the lane.
- Adhere mount – Peel off the 3M tape's cover on the mount. Press firmly in the center of the mount, then the edges. Ensure no bubbles form.
Plug in OBD-C and mount the device
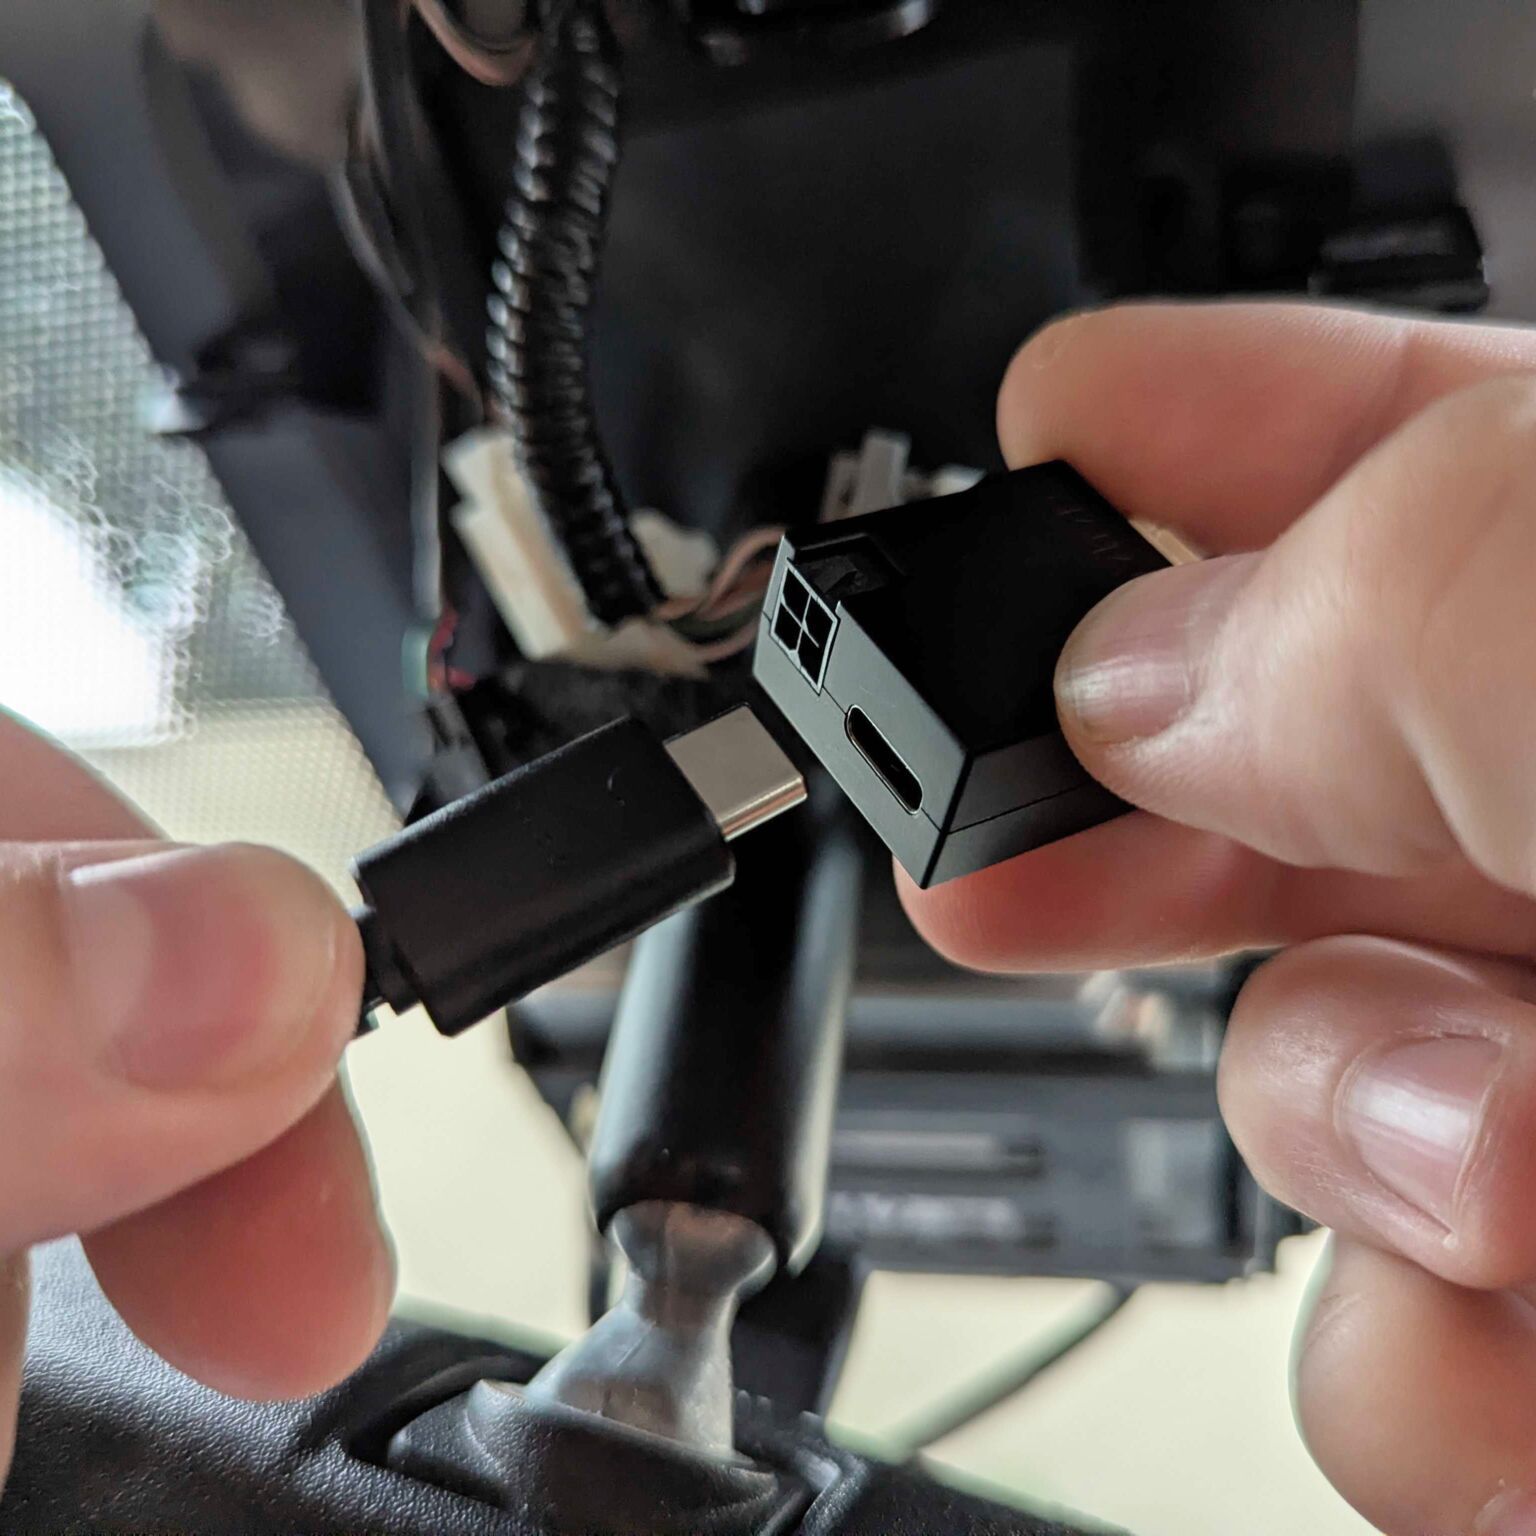
- Plug the OBD-C cable into the harness box – Ensure the cable is fully seated.
- Plug the OBD-C cable into the comma four. Make sure the cable is all the way in.
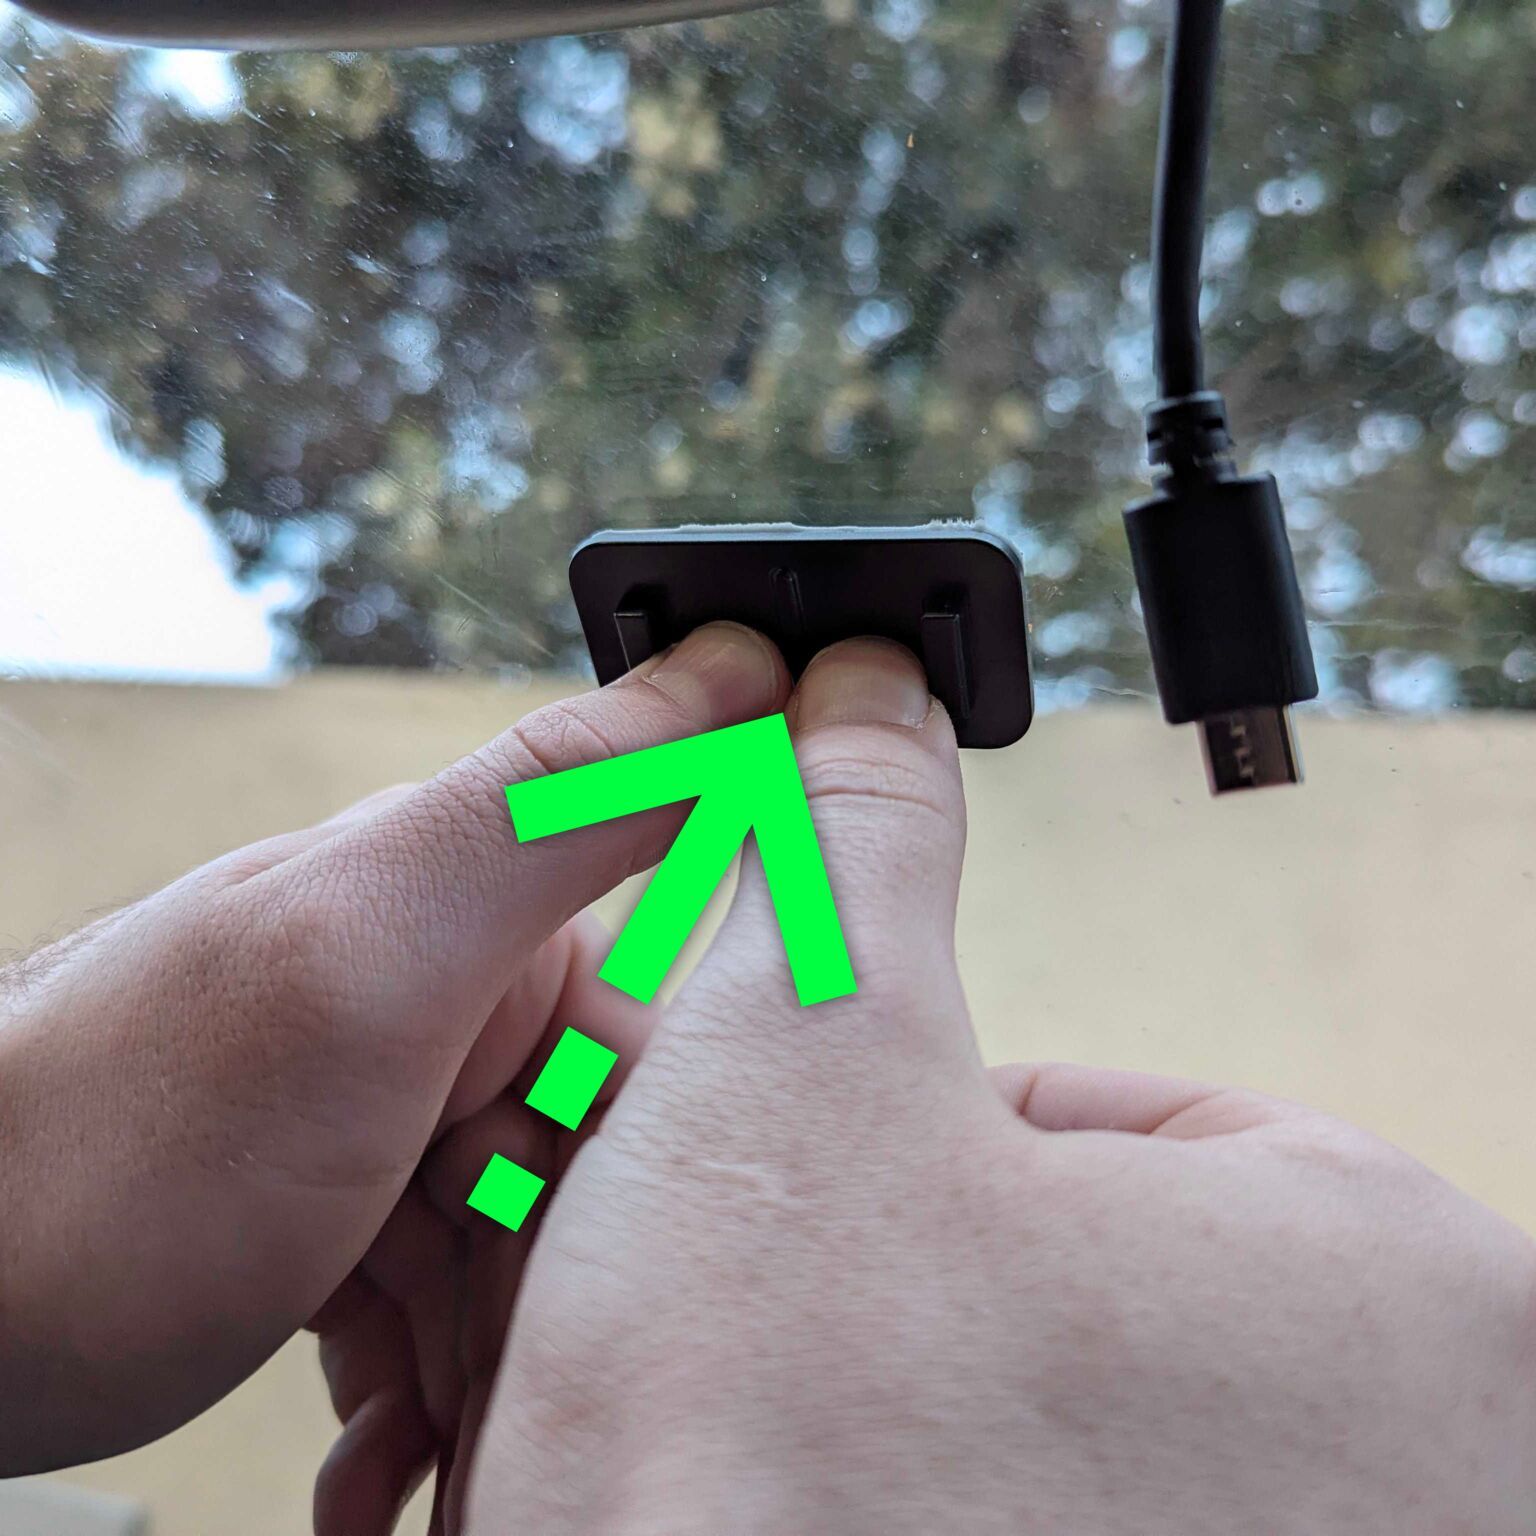
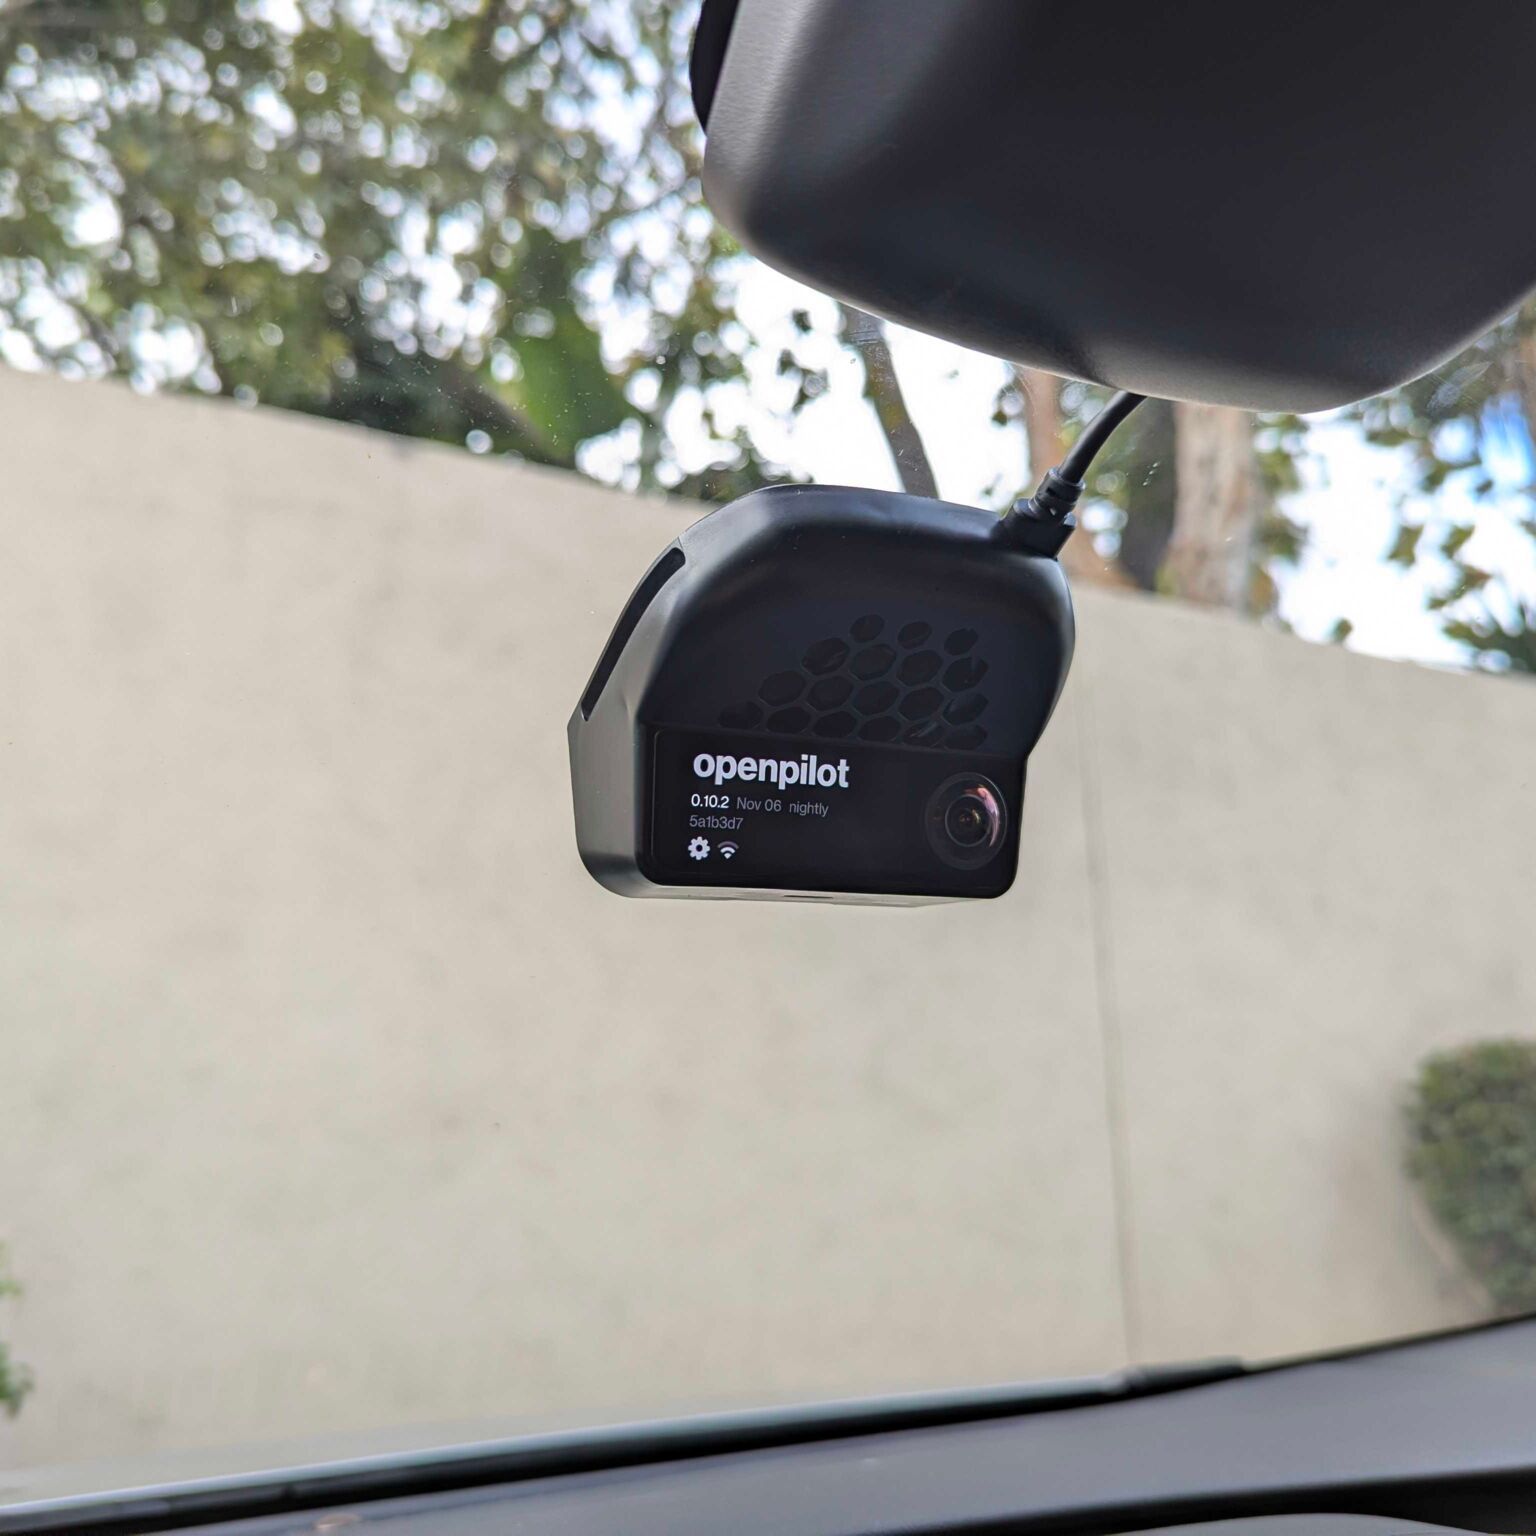
- Mount the device – Ensure the device is fully seated into the mount.
Reinstall the rearview mirror cover trim

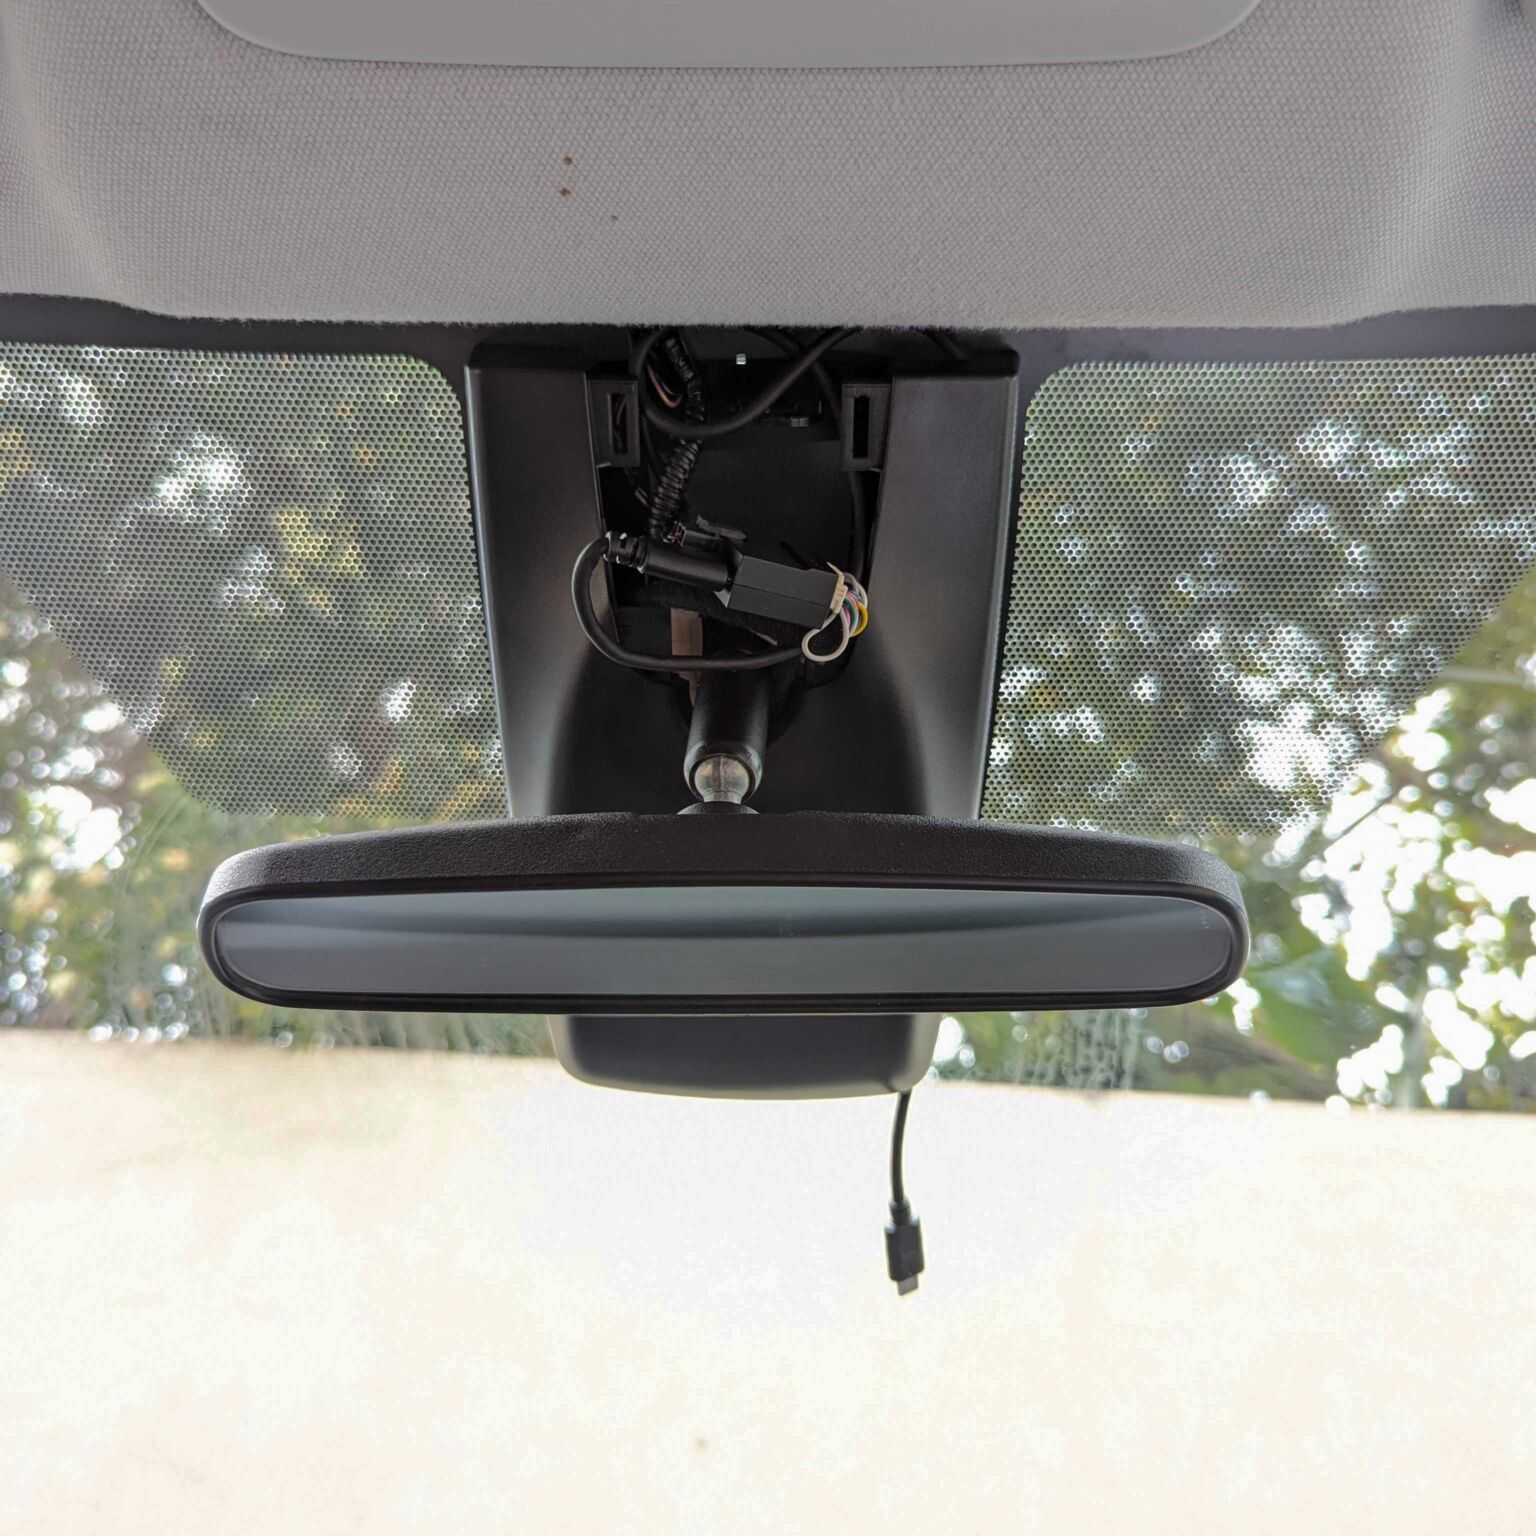
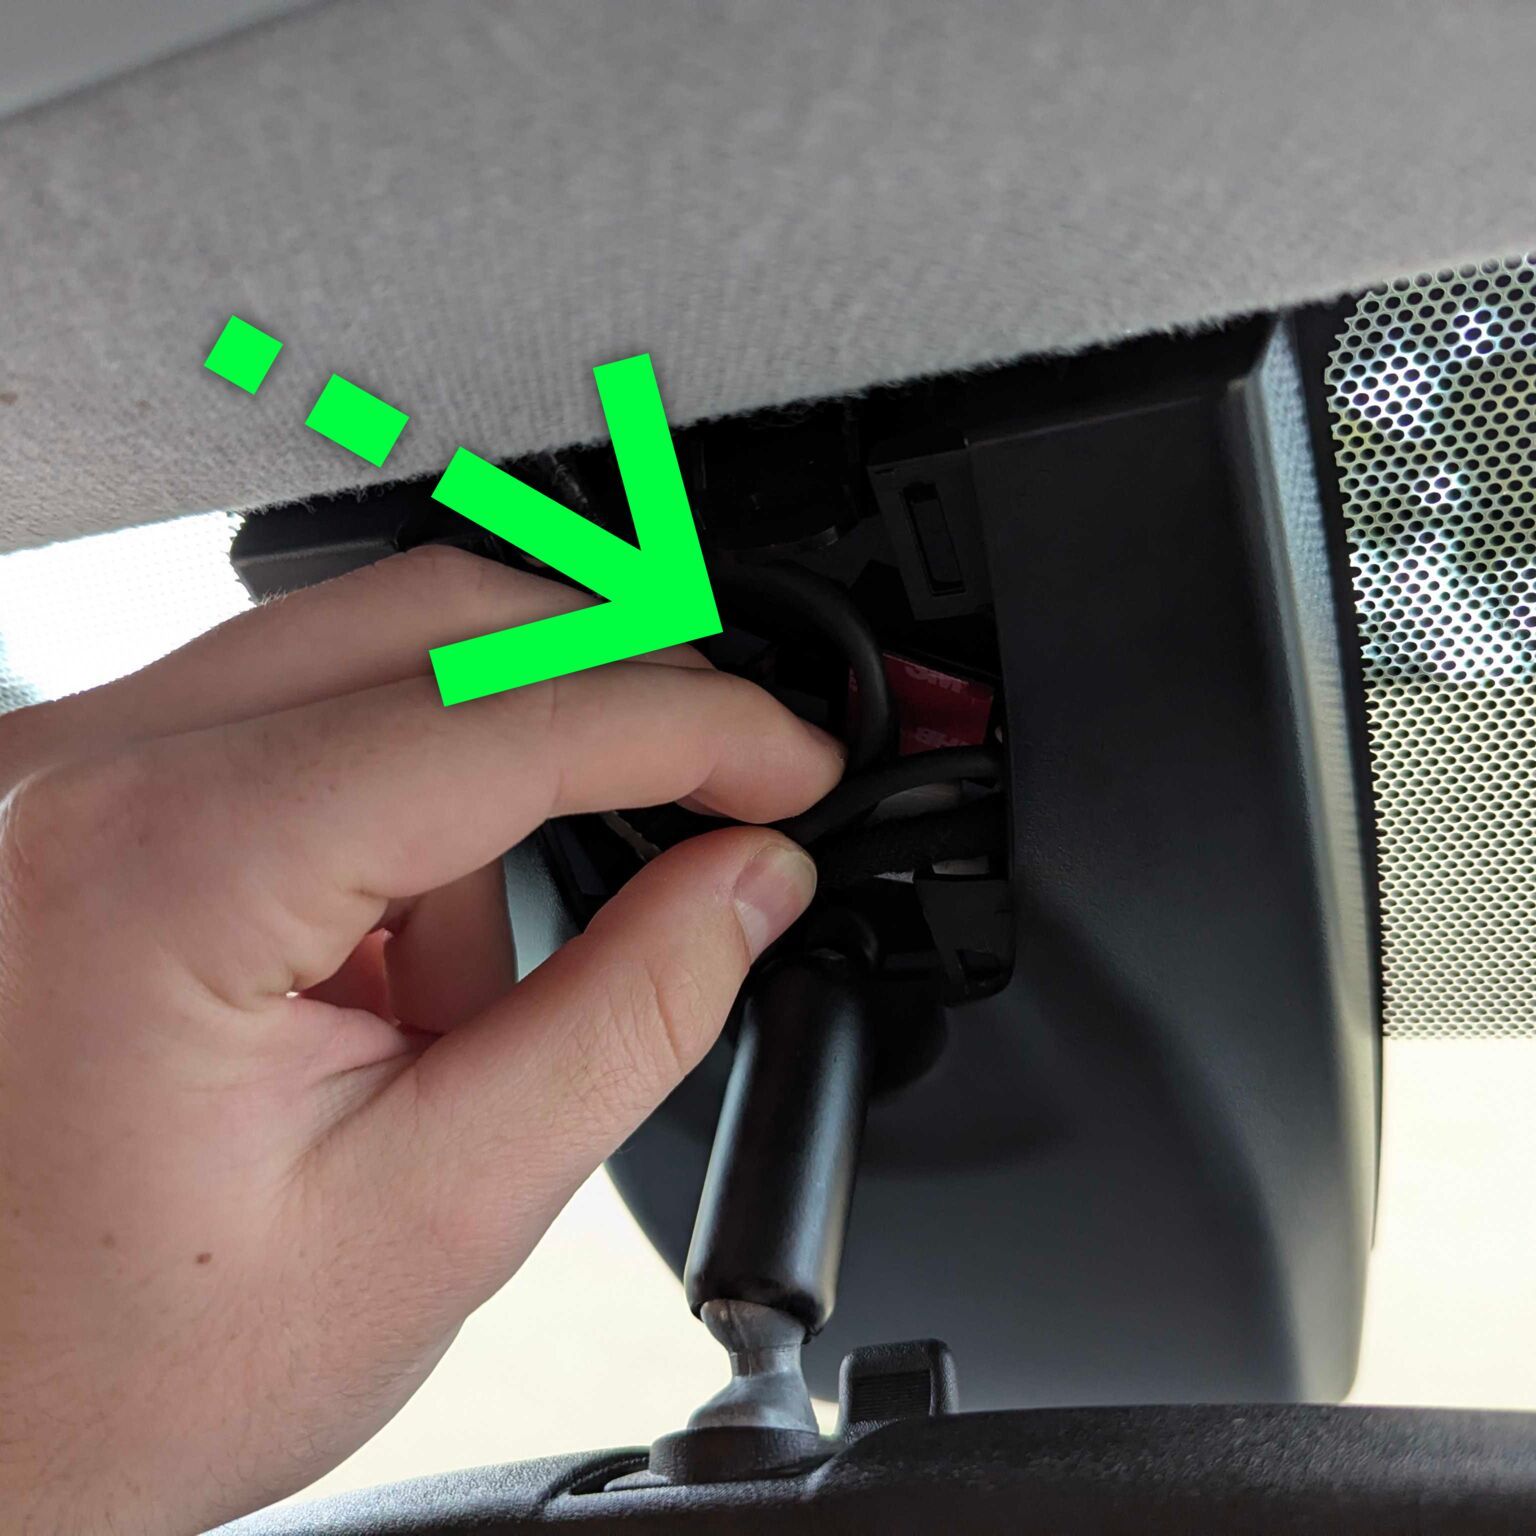
- Ensure the car harness fully fits inside the trim.
- Generally, it's best to have the OBD-C cable come out of the top.
Pair your device with comma connect

Add the comma power
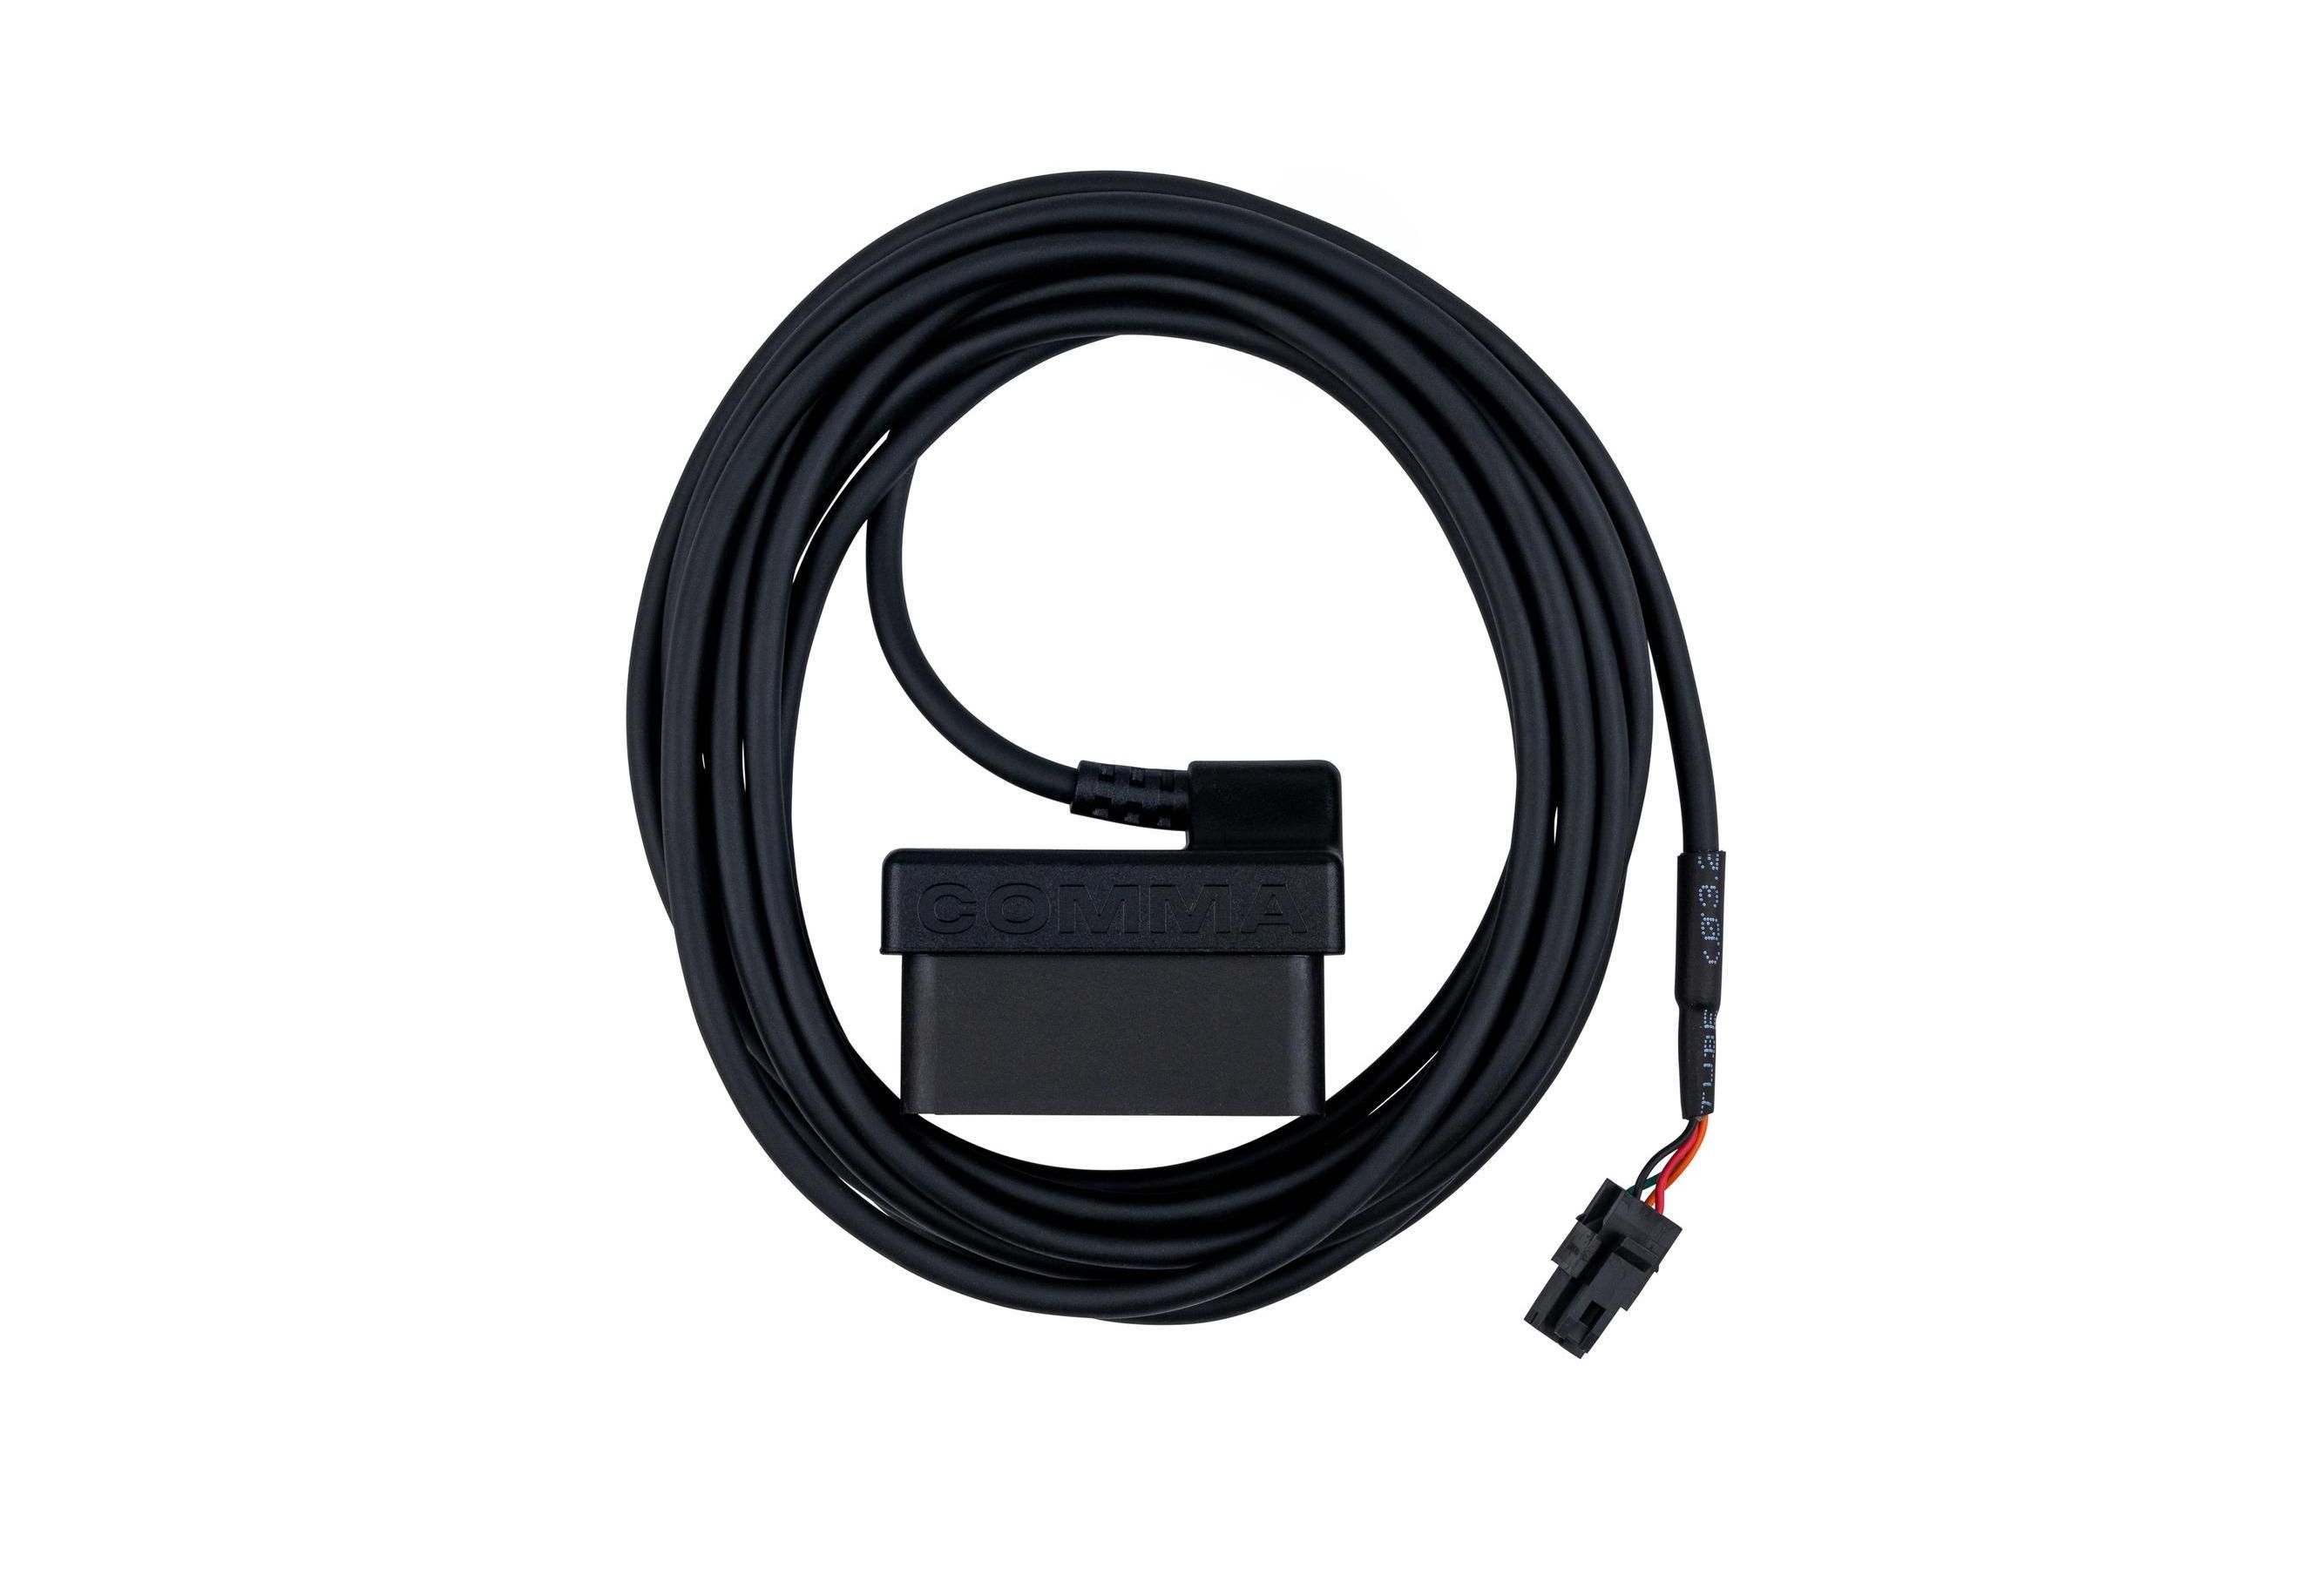
Installing the comma power is entirely optional and can be done at any time. Simply connect one end to your car's OBD-II port and the other to the harness box.
With a comma power:
- The start and end of every drive are recorded.
- Your comma four remains powered and online while the car is off.
- Your comma four downloads updates while the car is off.
Frequently asked questions

We recommend the mount be centered on the windshield below the trim (see pictures in the Installation Guide). Be sure to leave enough room to remove the trim in the future. First, clean the windshield with the included alcohol wipe. Ensure the top of the mount is fully visible from the driver’s seat. Adhere mount: peel off the 3M tape’s cover on the mount. Press firmly in the center of the mount, then the edges to ensure no bubbles form.
It is the user’s responsibility to mount the device in compliance with all applicable laws and ordinances.
From the FTC website: "Simply using an aftermarket or recycled part does not void your warranty. The Magnuson-Moss Warranty Act makes it illegal for companies to void your warranty or deny coverage under the warranty simply because you used an aftermarket or recycled part."
https://www.consumer.ftc.gov/articles/0138-auto-warranties-routine-maintenance
Contact your insurance provider directly; insurance coverage is between the user and their insurance provider. comma hardware users have been able to get coverage and discuss this on Reddit here.
Insurance companies are beginning to understand the safety benefits of driver assistance systems like openpilot and we have not heard of any providers rejecting coverage to comma hardware users.