chestnut

$799
Shipping
Free US shipping, $30 flat rate internationally.
Using chestnut with openpilot?
Choose ready to drive for everything you need to add desktop-class GPU compute to your comma four.

We think you’ll love chestnut, but if you’re not satisfied, send it back within 30 days for a full refund.
1-year limited warranty against hardware defects.

Meet chestnut

chestnut is a compute upgrade for comma four, built for bigger models. It connects a desktop GPU directly to your comma four, giving openpilot the compute to run its biggest driving models. The first chestnut-class model has 30x more parameters and uses 100x more FLOPs than the latest on-device model.

The ready to drive kit is the easiest way to bring that compute into your car. tiny chestnut and ready to drive use the same USB-to-PCIe board and run the same open-source custom firmware.

Read the launch blog post.


Using chestnut

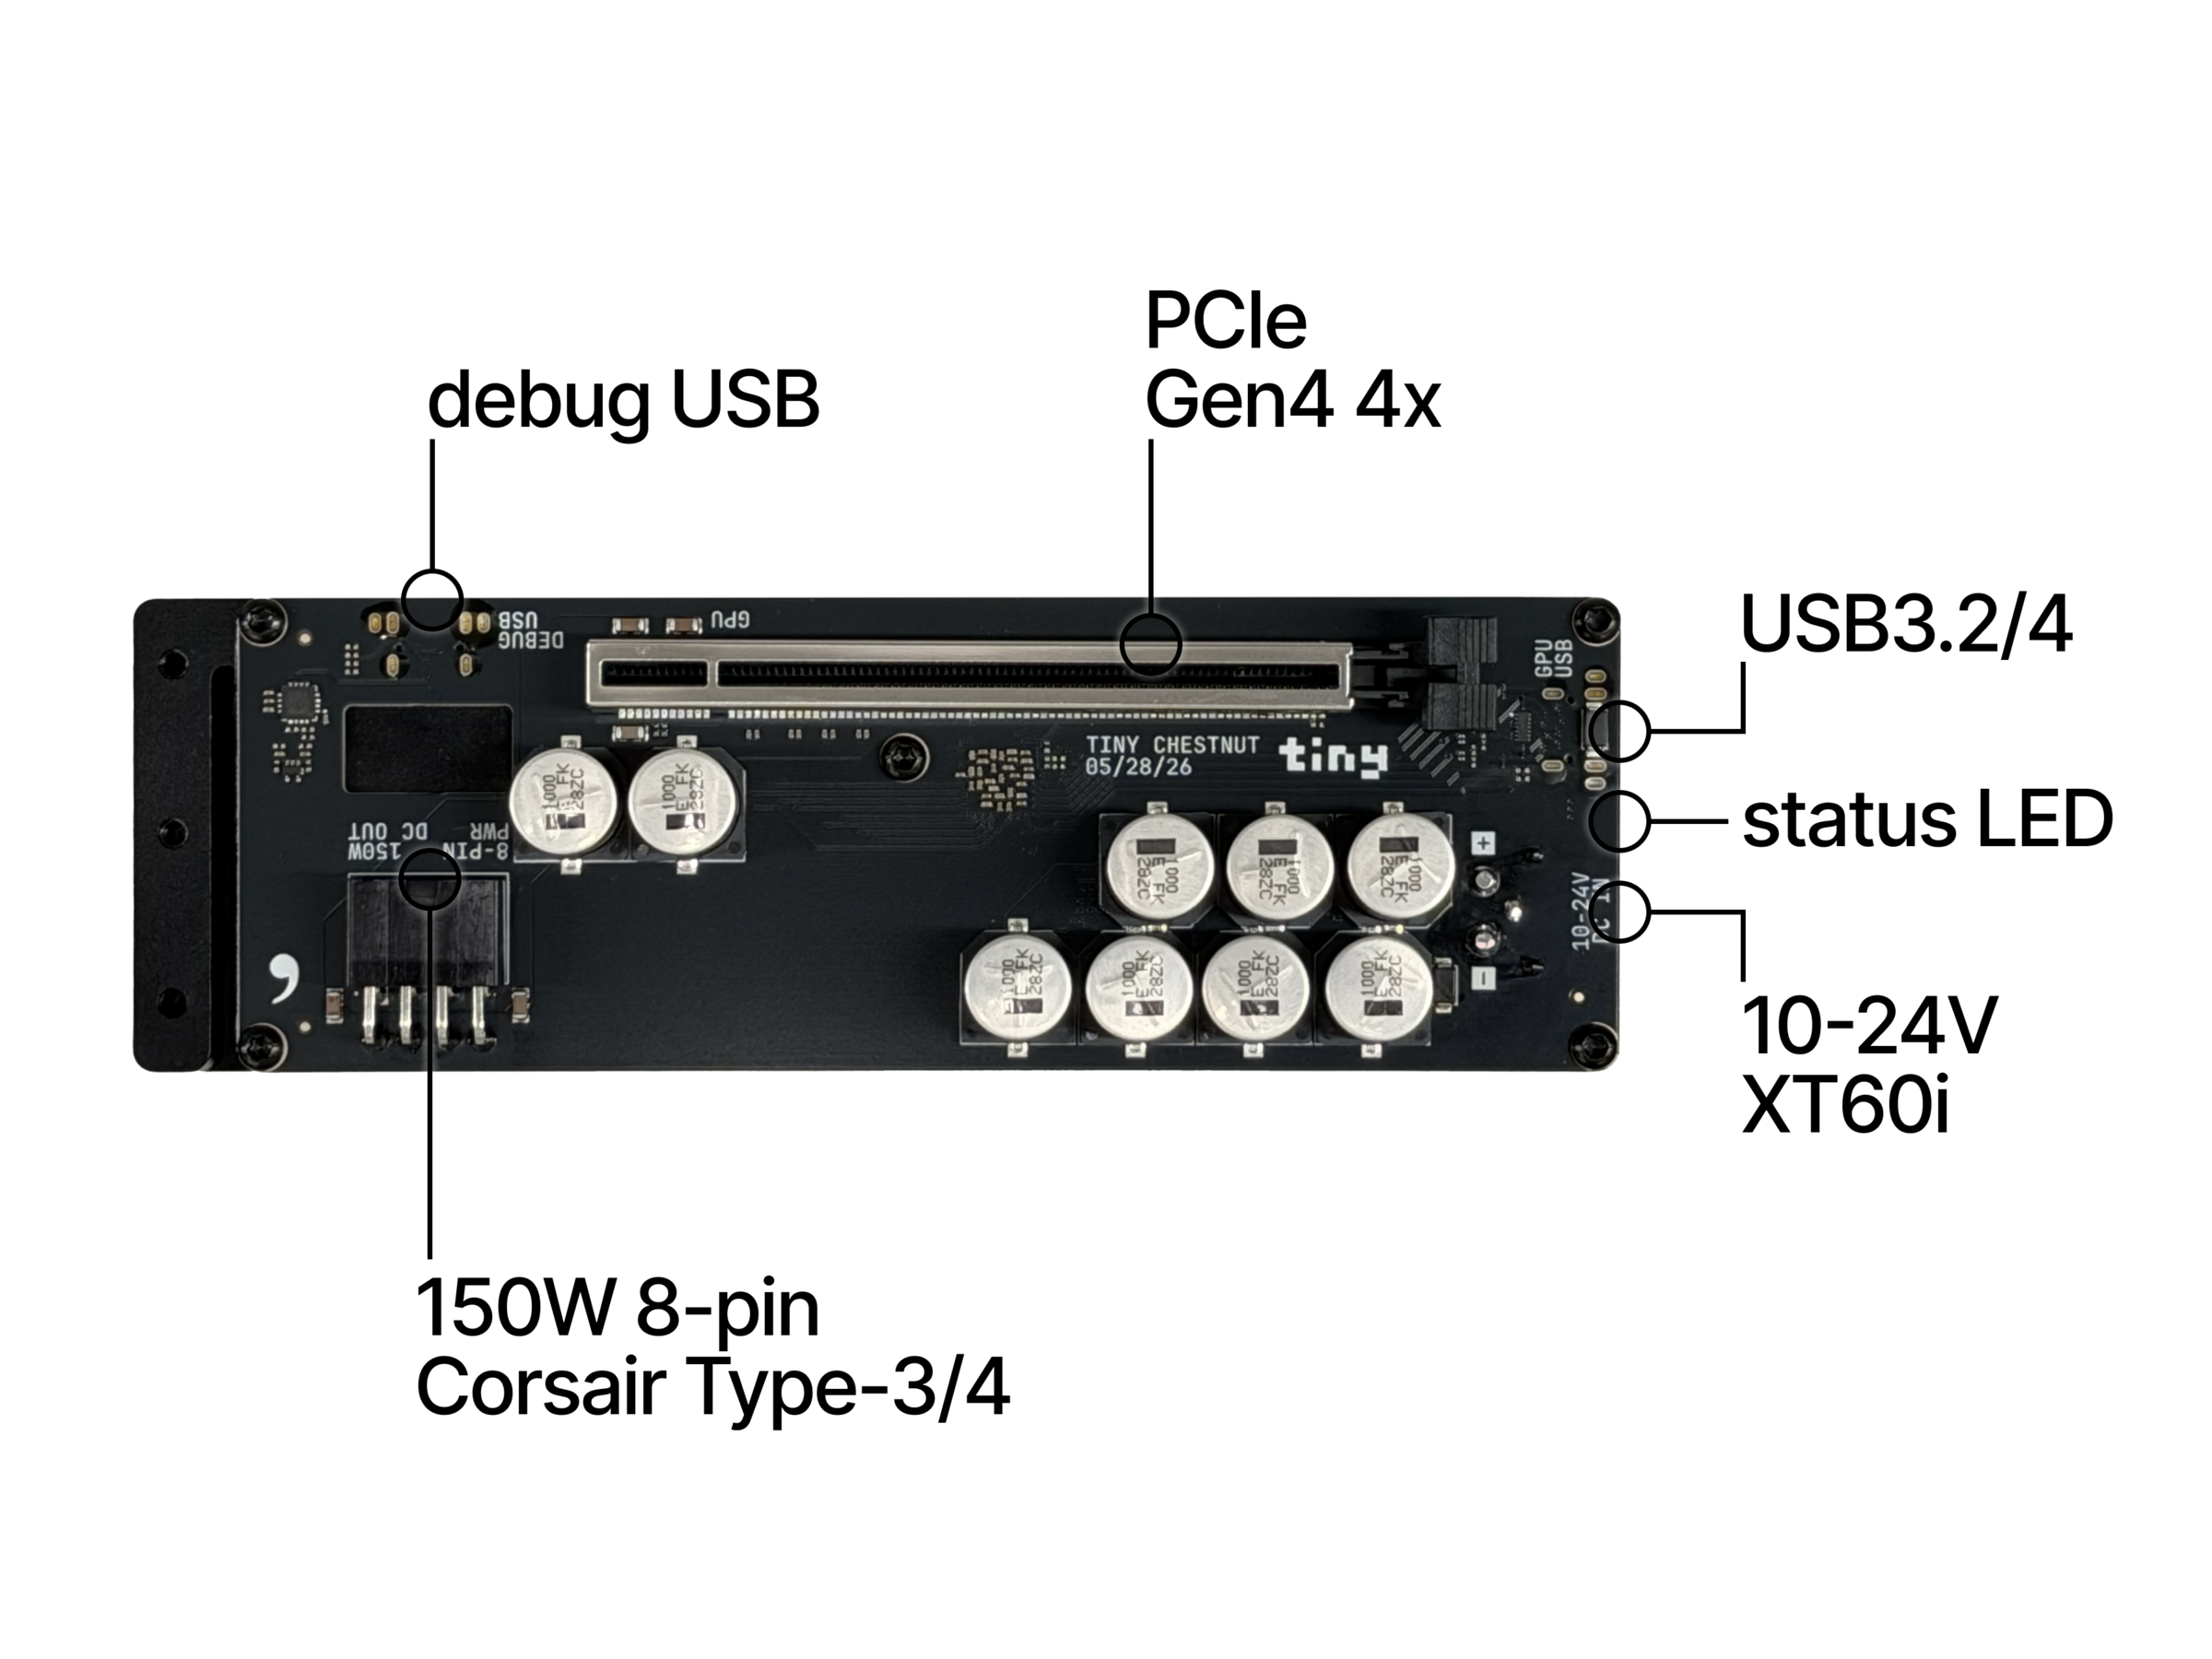
Annotated connection diagram of the chestnut board

With a PC

USB4

Connect chestnut to your computer and use it like any other USB4 dock.

USB3 or USB2

Use tinygrad to access the GPU over a USB3 or USB2 connection.

Mac

Follow the TinyGPU setup guide to use a supported GPU on macOS.

With openpilot

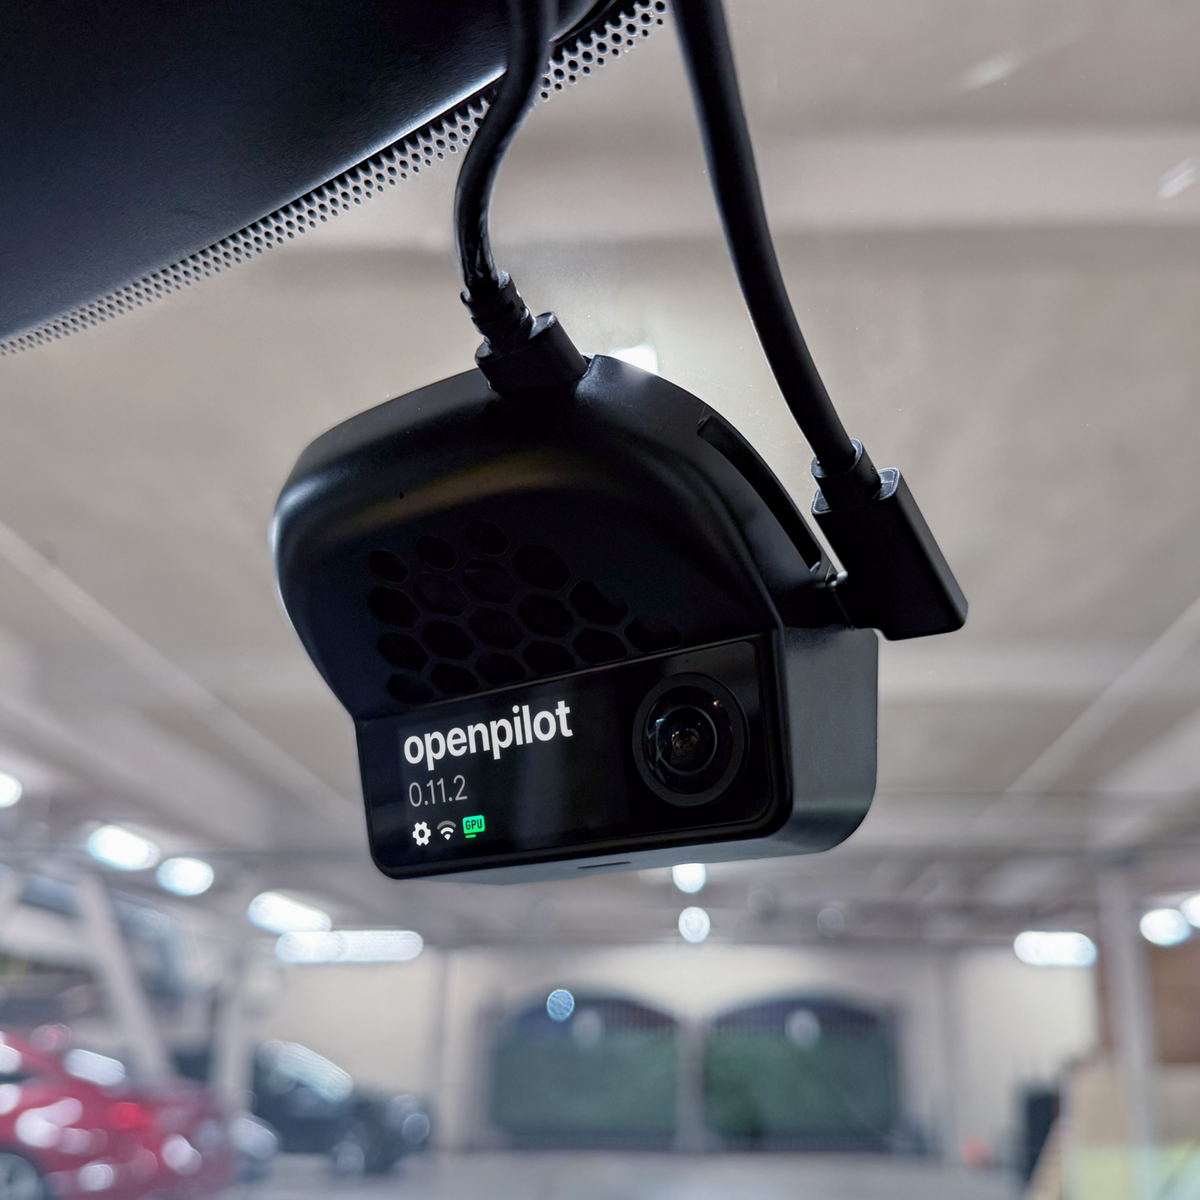
Pair chestnut with comma four to run openpilot’s biggest models. The ready to drive kit includes everything you need for an in-car setup: a GPU, a longer USB cable, a car power cable, and mounting strips.


In the Box

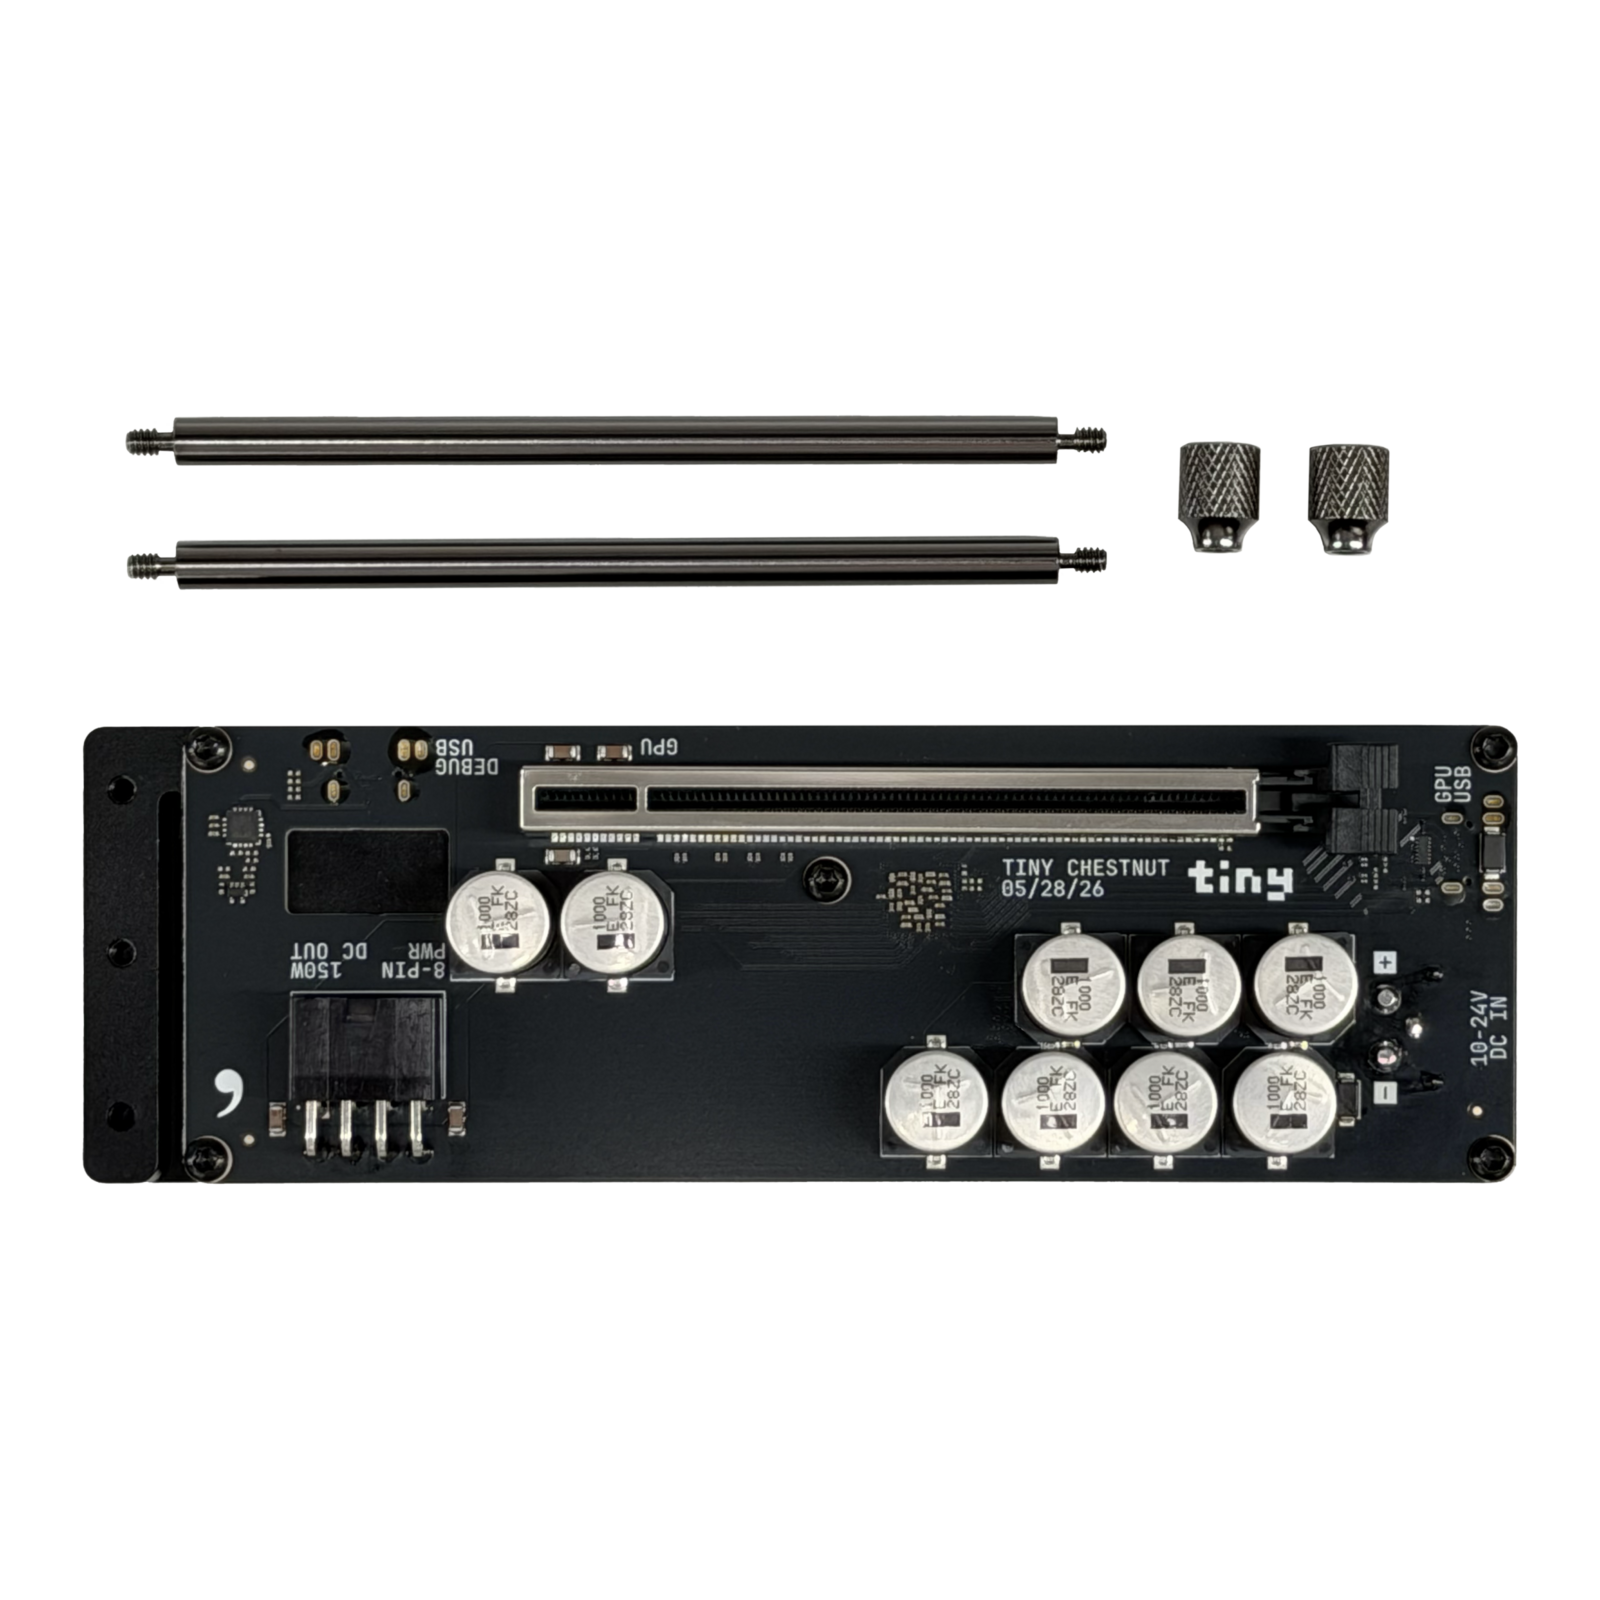
tiny chestnut

$249
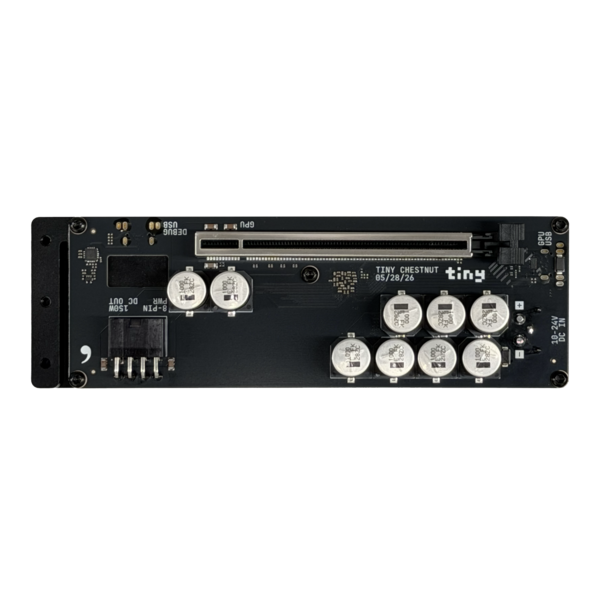
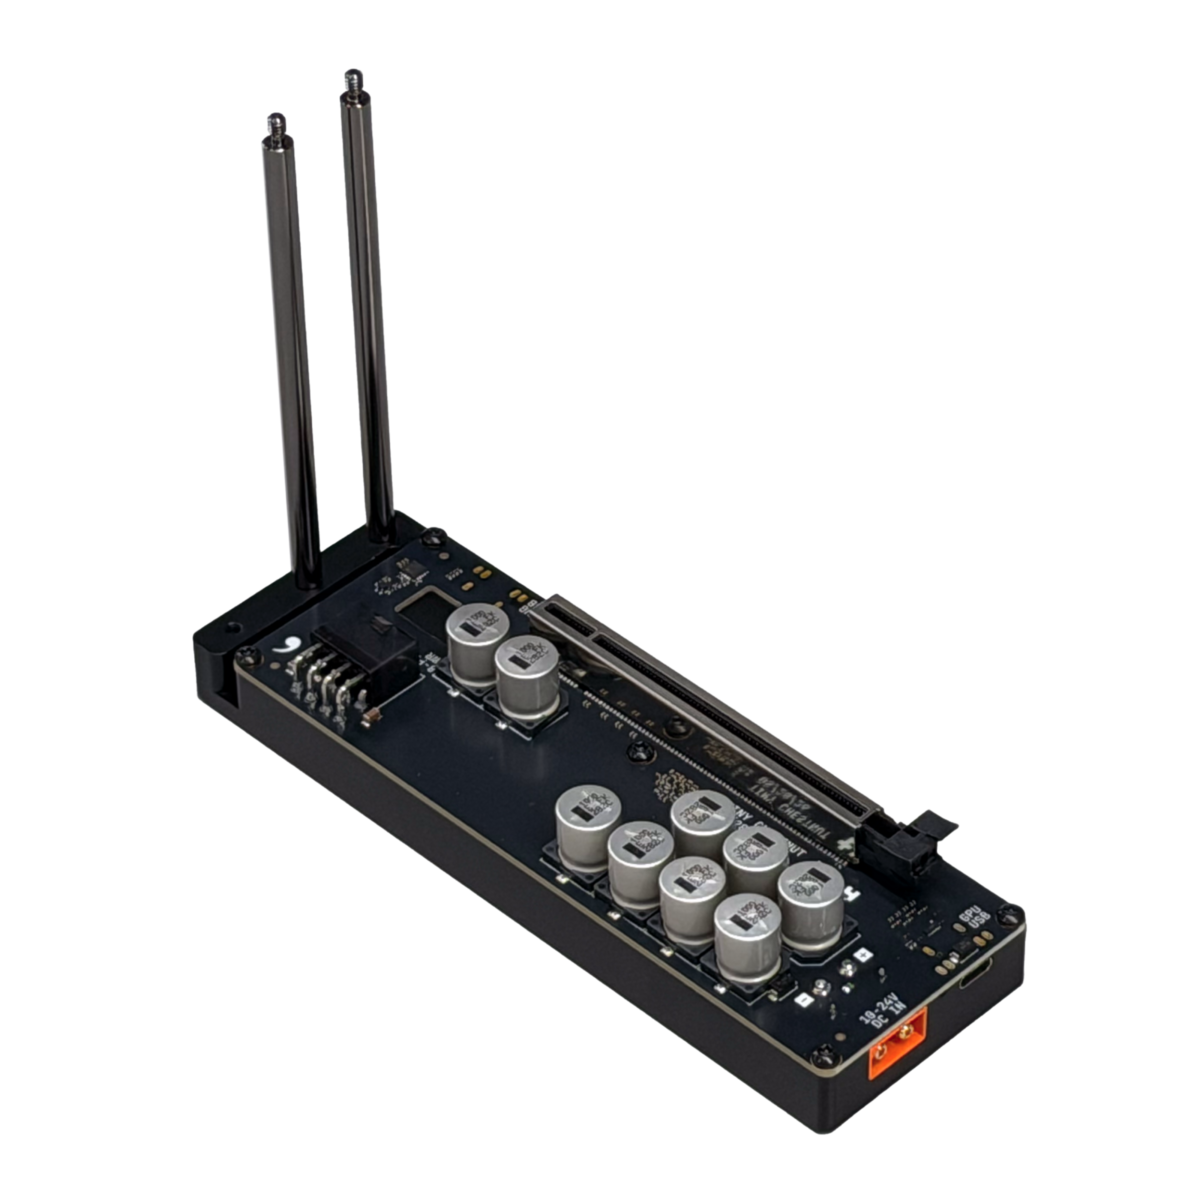
chestnut board and aluminum base

chestnut

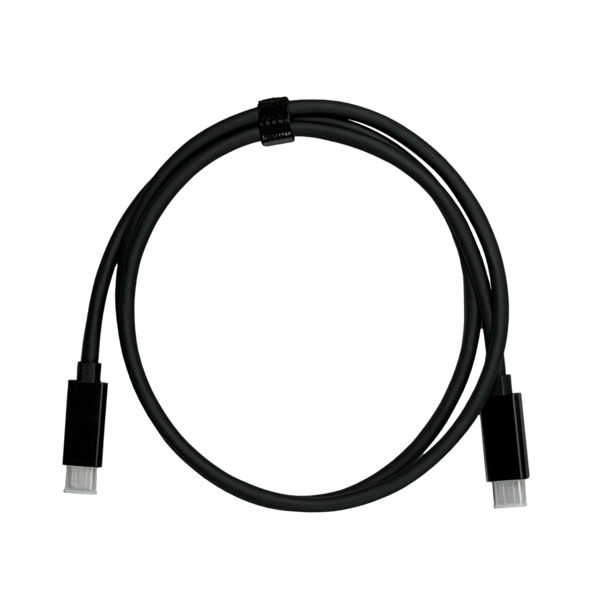
1m USB4 cable

1m USB4

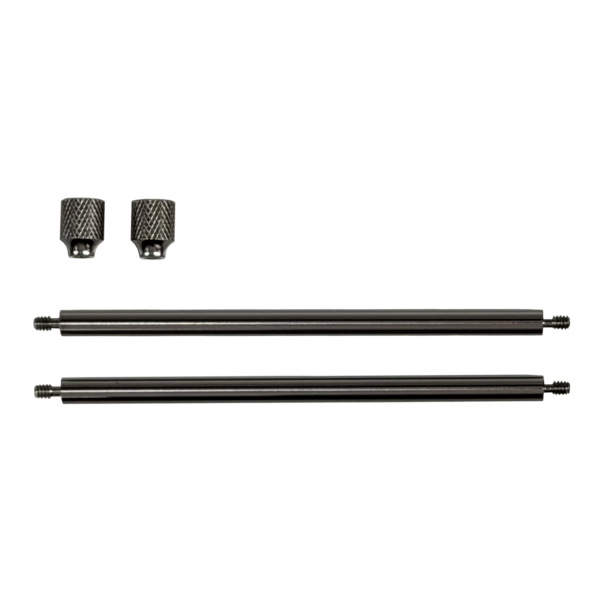
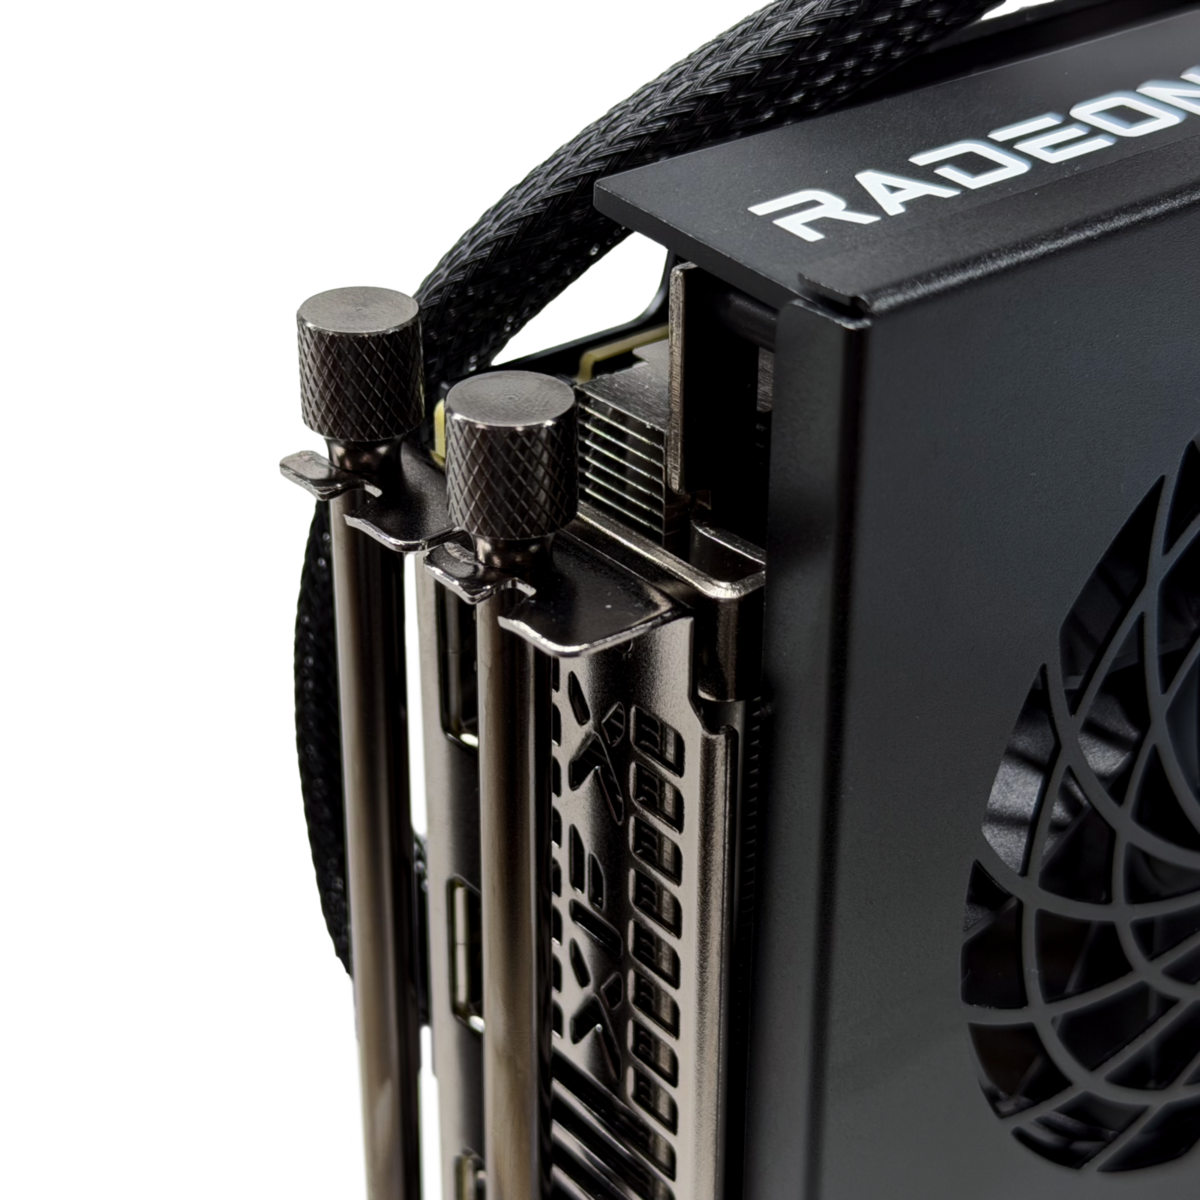
chestnut standoffs and thumb nuts

standoffs + thumb nuts

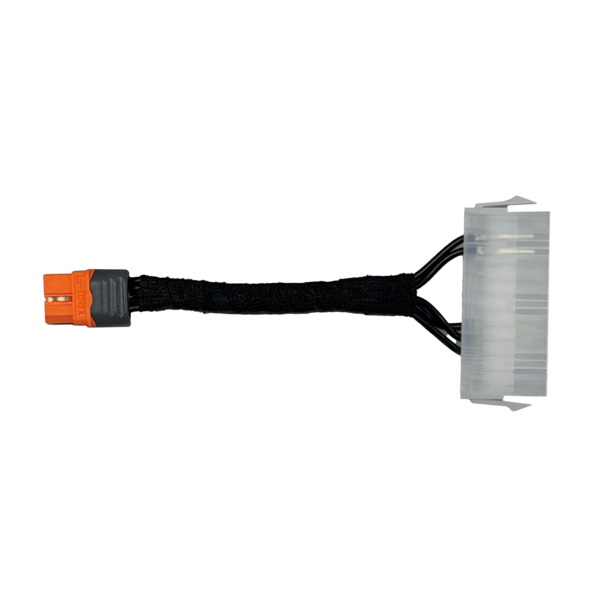
ATX to XT60i power adapter

ATX power adapter

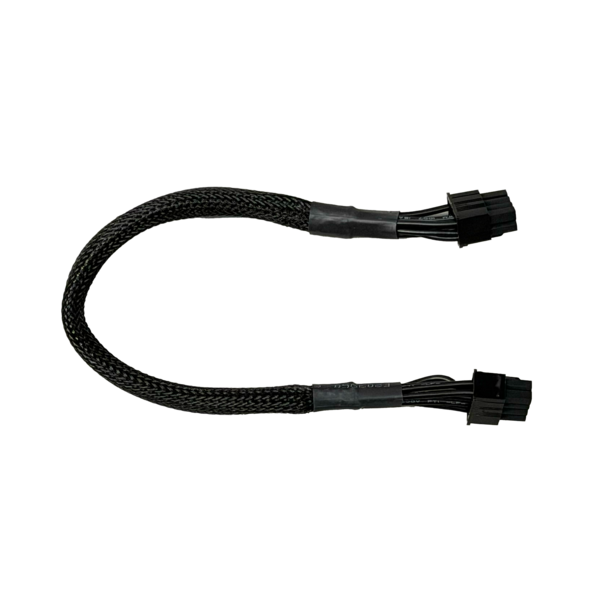
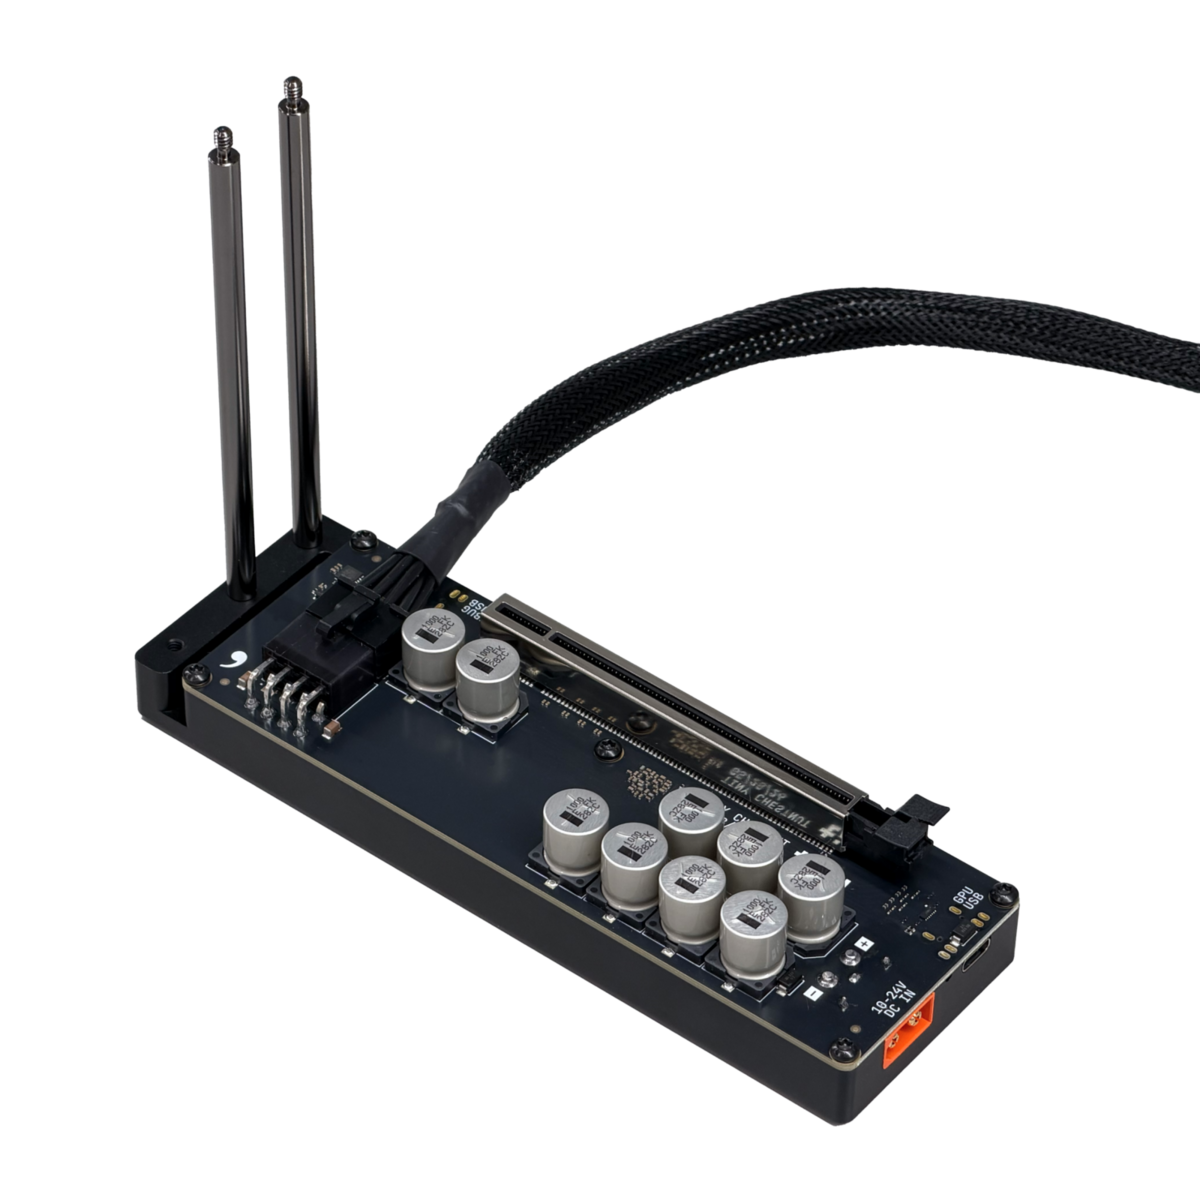
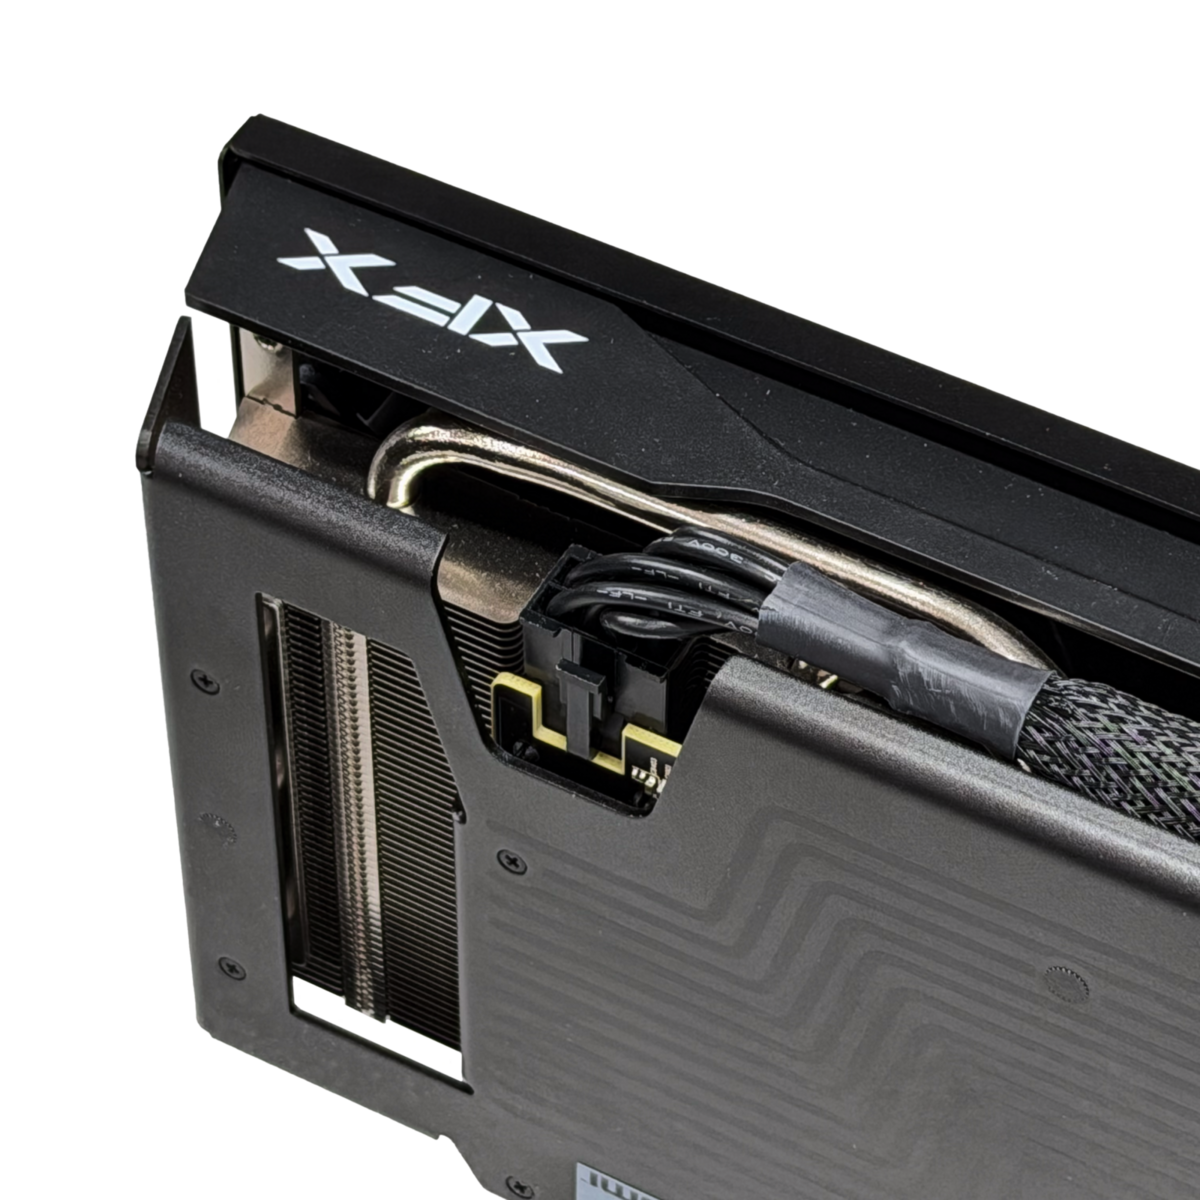
GPU power cable

GPU power cable

ready to drive

$799
chestnut board and aluminum base

chestnut

1m USB4 cable

1m USB4

chestnut standoffs and thumb nuts

standoffs + thumb nuts

ATX to XT60i power adapter

ATX power adapter

GPU power cable

GPU power cable

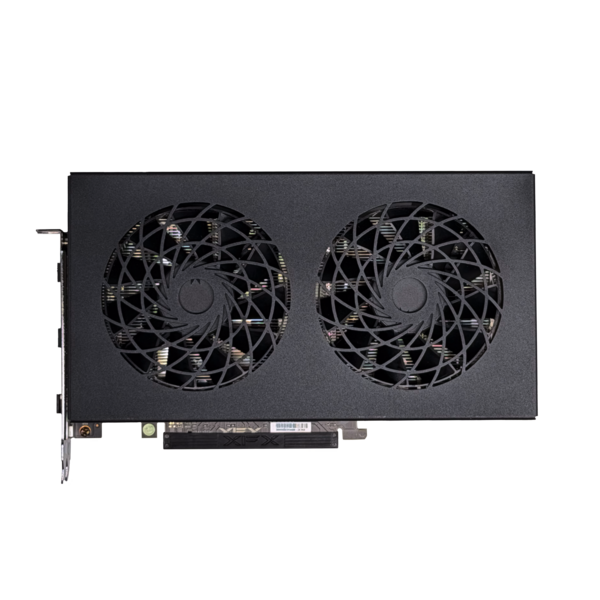
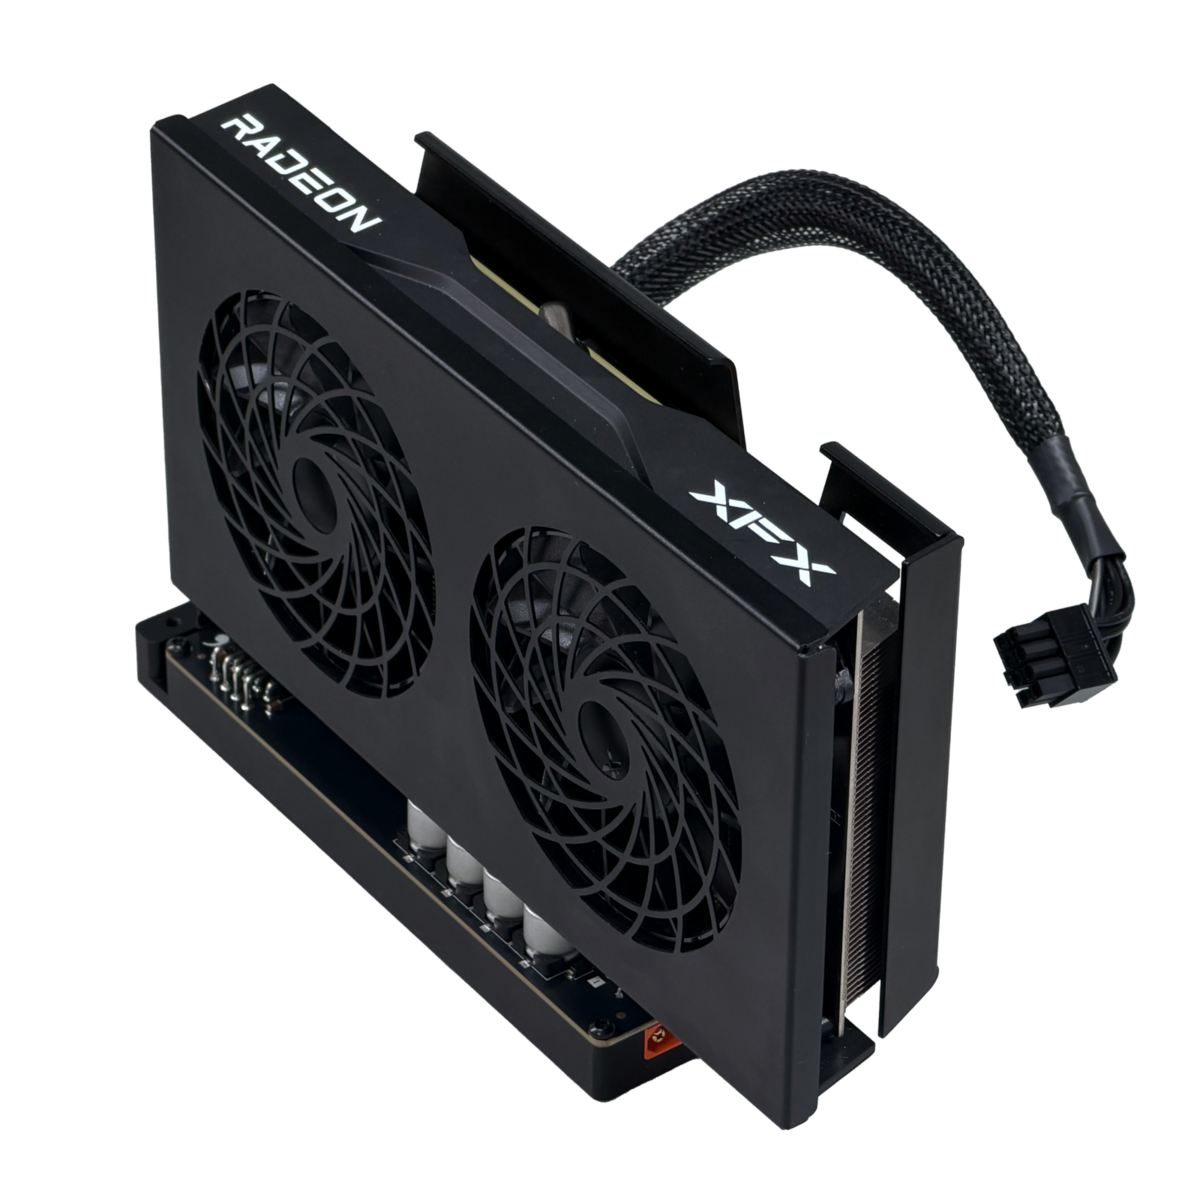
AMD Radeon GPU for chestnut

AMD Radeon RX 9060 8GB

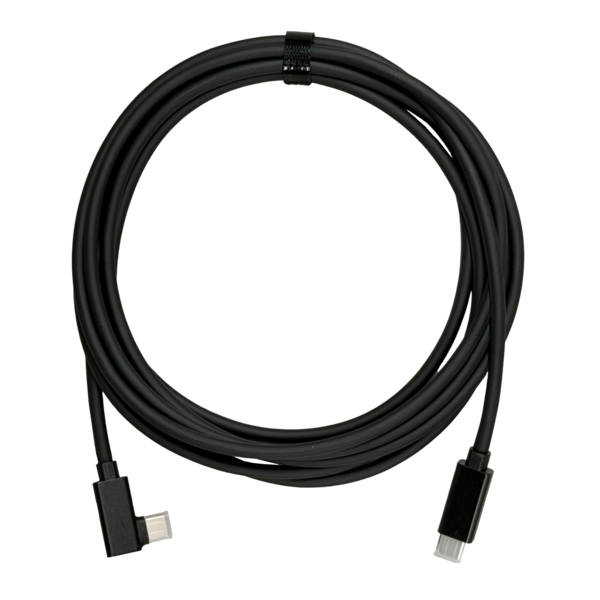
3m USB3 cable

3m USB3

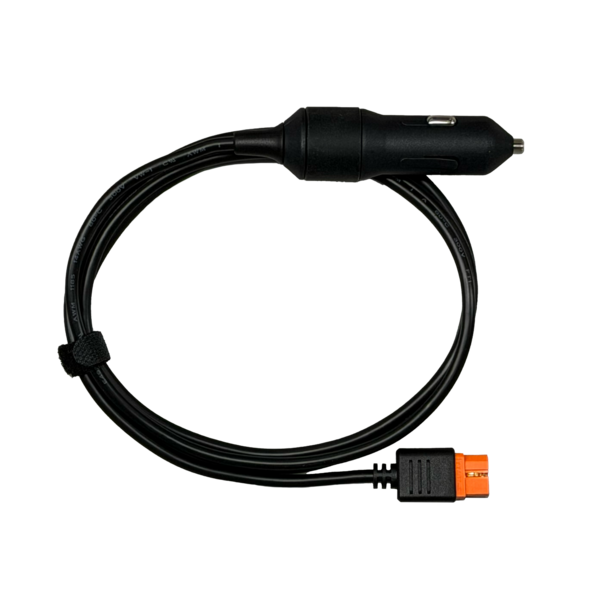
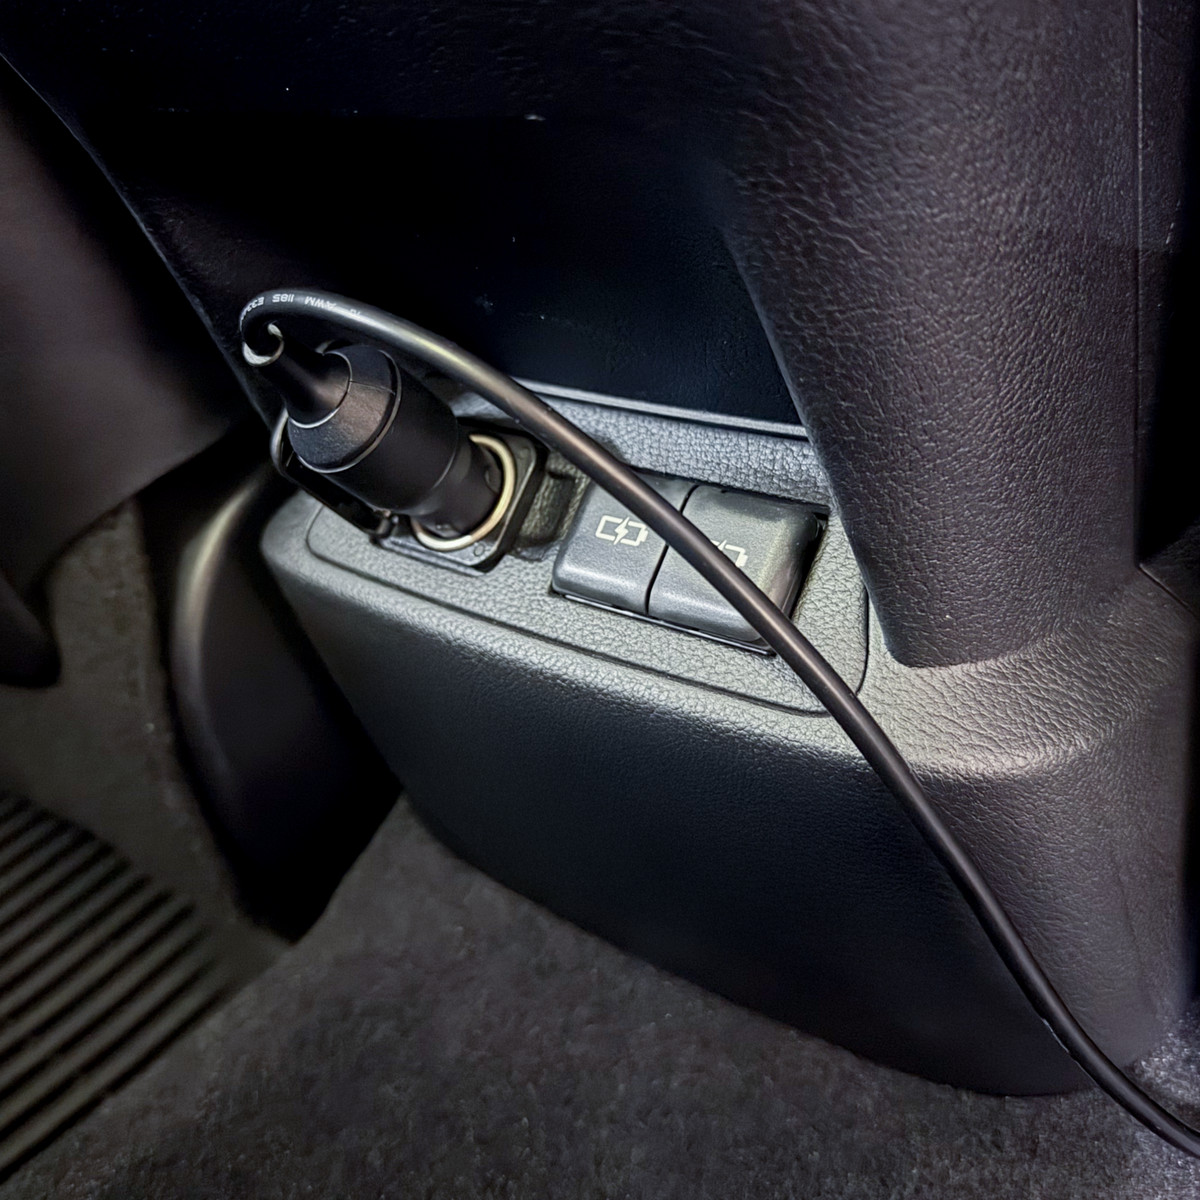
12V car power cable

car power cable

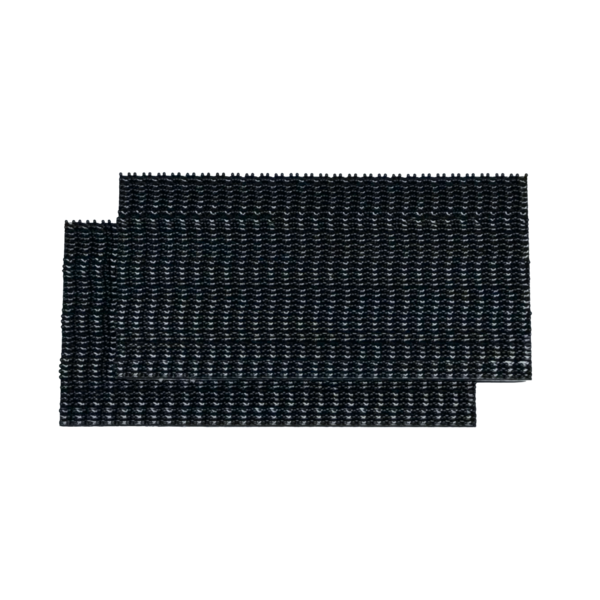
chestnut mounting strips

mounting strips


Setup Guide

Step 1 of 7

Install the standoffs

standoffs installed on chestnut

Thread the two standoffs into chestnut’s base so they are ready to support and secure the GPU.


Step 2 of 7

Connect power to chestnut

GPU power cable connected to chestnut

Plug the GPU power cable into chestnut before installing the GPU.


Step 3 of 7

Seat the GPU

GPU seated in chestnut

Align the GPU with chestnut’s PCIe slot and press it firmly into place.


Step 4 of 7

Secure the GPU

GPU secured with thumb nuts

Align the GPU with the standoffs and secure it with the thumb nuts.


Step 5 of 7

Connect GPU power

power cable connected to the GPU

Plug the other end of the 8-pin power cable into the GPU.


Step 6 of 7

Mount in your car

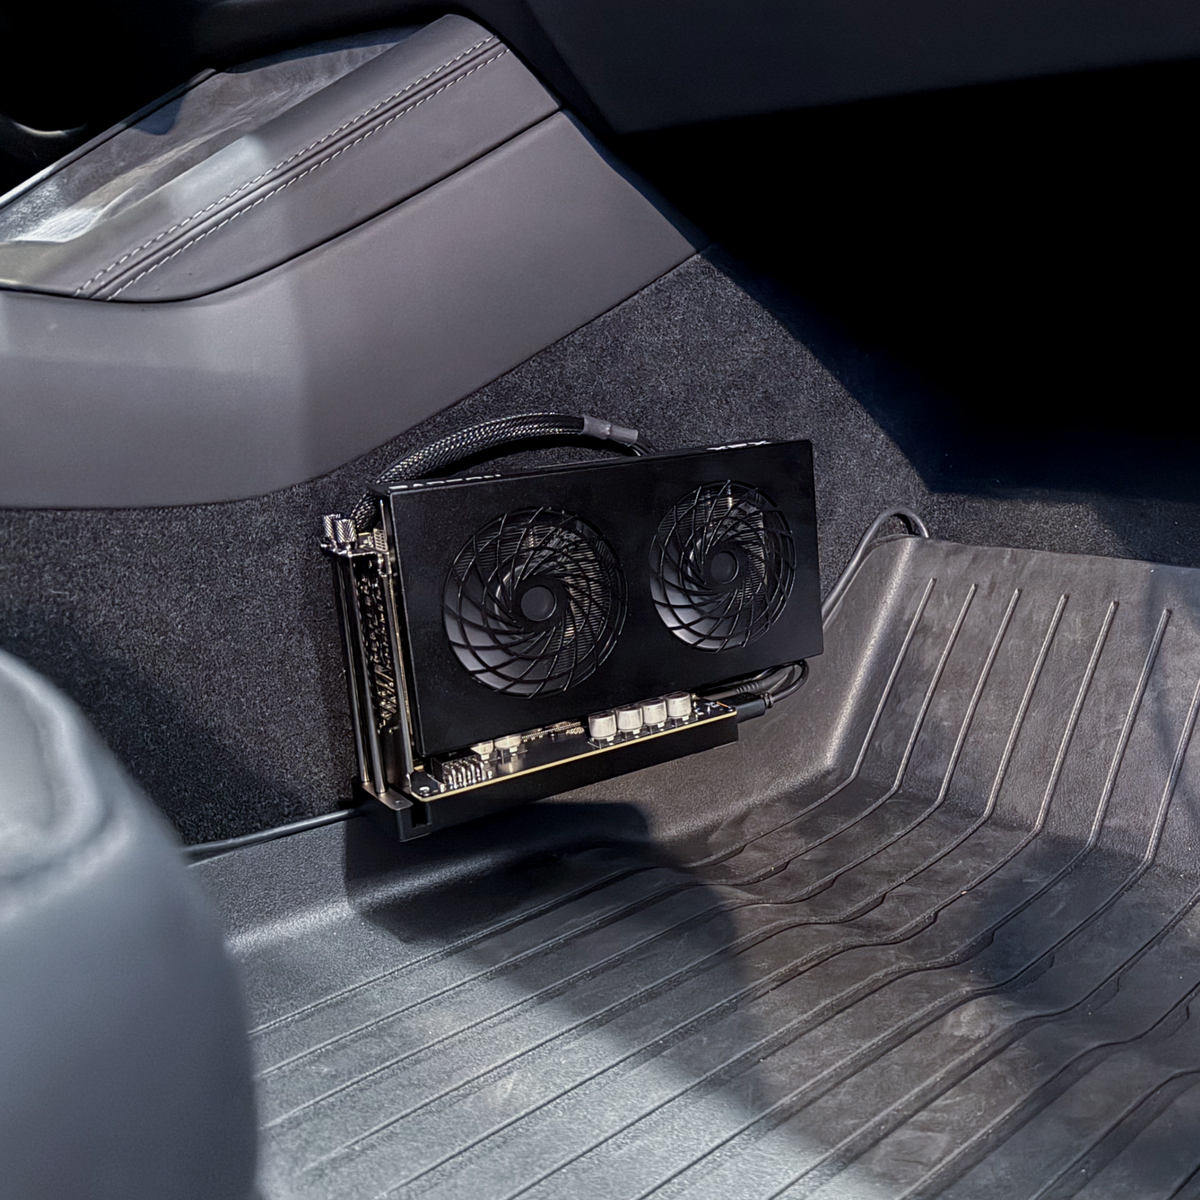
chestnut and GPU mounted in the passenger footwell
Mount in the footwell
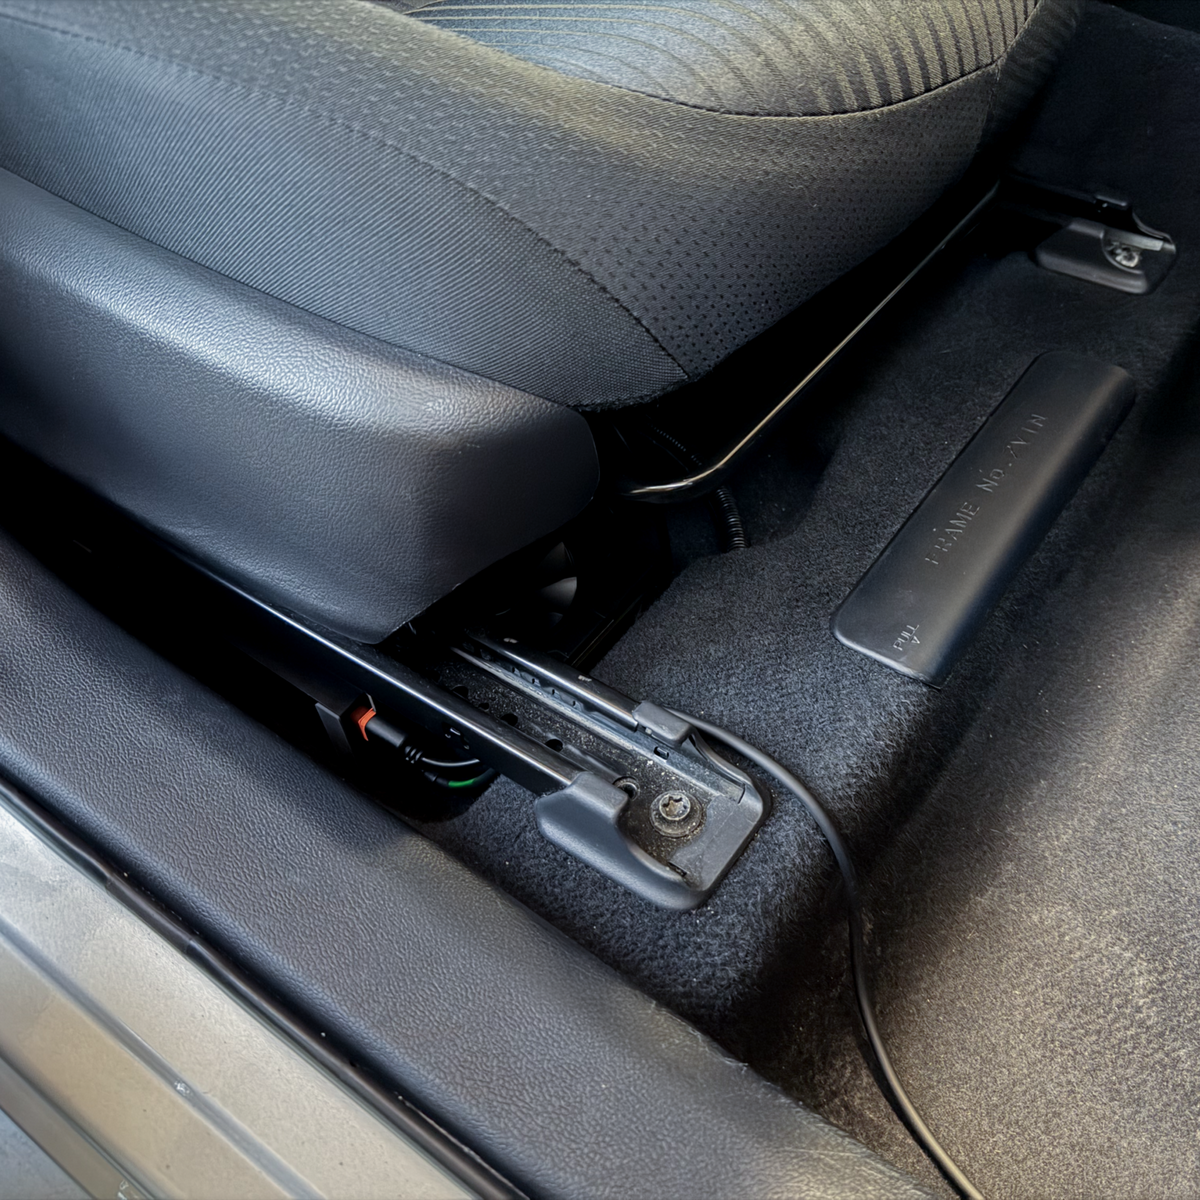
chestnut installed under the passenger seat
Or install under the passenger seat

Secure the assembled chestnut and GPU in the passenger footwell with the included mounting strips, leaving room for airflow. If there’s enough room, you can also install chestnut under the passenger seat.


Step 7 of 7

Plug it in

chestnut vehicle power adapter plugged into the car
Connect vehicle power
USB cable connected to comma four
Connect comma four

Connect chestnut to vehicle power and plug the USB cable into your comma four.